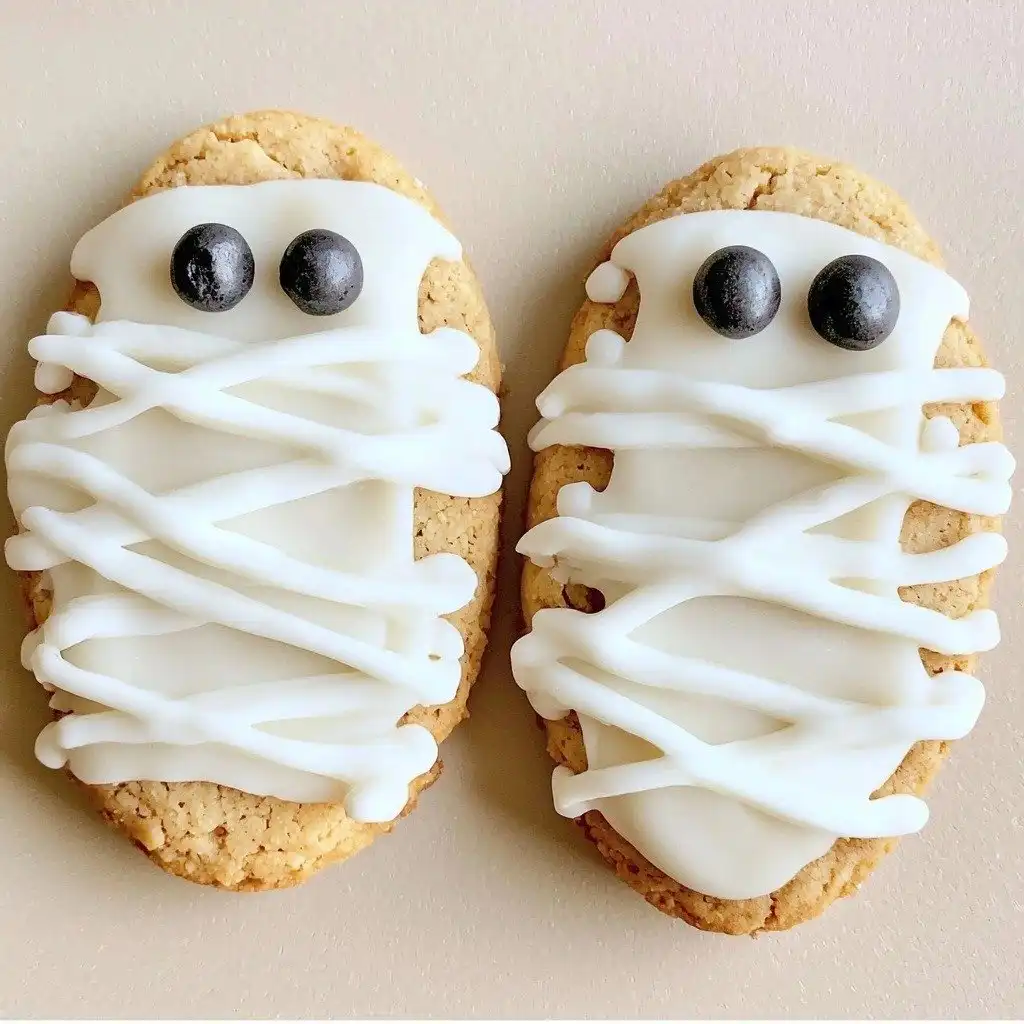
Every Halloween, my kitchen turns into a little spooky bakery. It’s truly one of my favorite times to get creative with treats! These adorable Mummy Cookies are always a huge hit. They’re so easy to make and just bring a smile to everyone’s face, whether it’s for a school party or a cozy night in with a scary movie.
Why You’ll Love This Mummy Cookies
- They’re ridiculously easy to make – seriously, no baking required!
- Only a few simple ingredients mean less fuss and more fun.
- They look super impressive but are secretly a breeze to decorate.
- Perfect for Halloween parties, school treats, or just a fun fall activity.
Ingredients You’ll Need
- Milano cookies: These are the perfect shape for our mummy base! Their elegant oval makes them ideal for wrapping.
- White chocolate chips: This is our “mummy wrap” and glue for the eyes. Make sure to use good quality chips for the best melting and flavor.
- Vegetable oil: Just a tiny bit helps the chocolate melt smoothly and gives it a nice, workable consistency for drizzling.
- Black pearl sprinkles: These are the cute little eyes that bring our mummies to life!
How to Make Mummy Cookies Step by Step
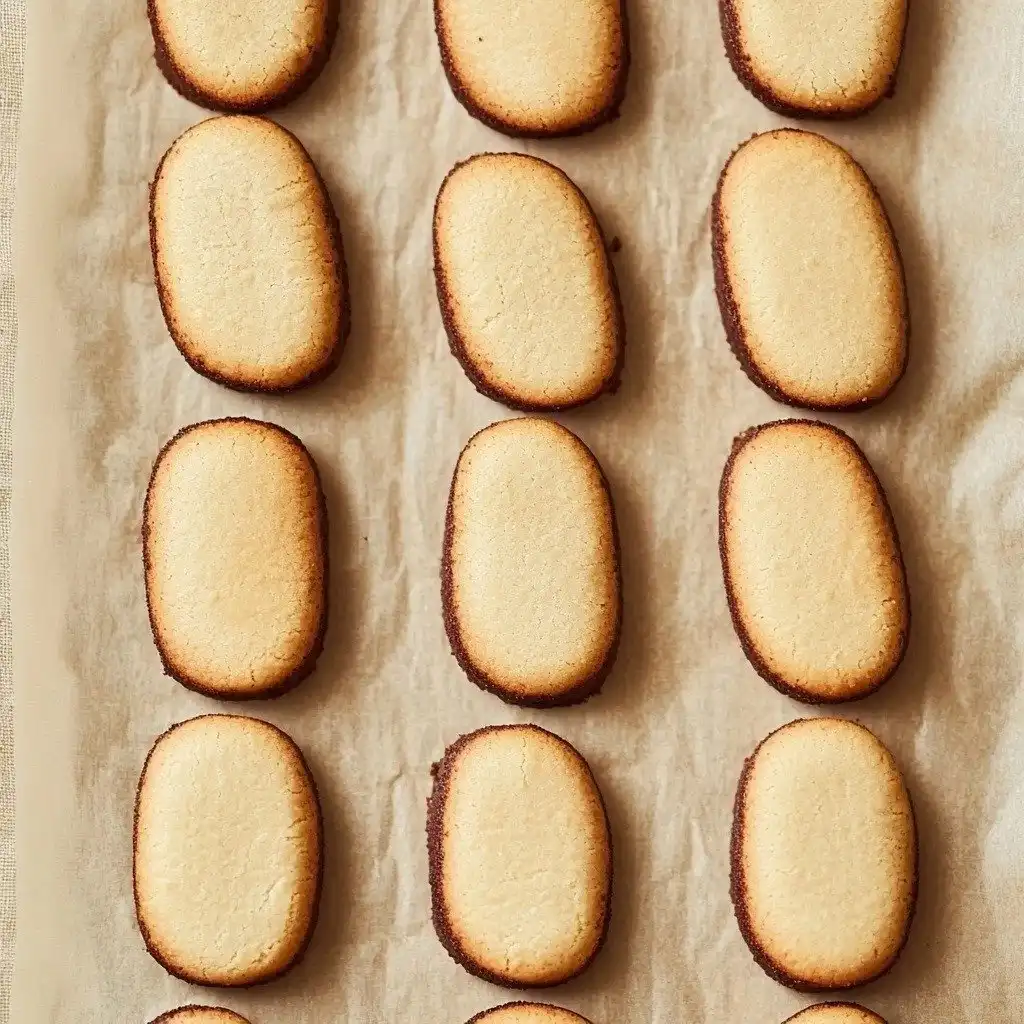
First things first, let’s get organized! Grab a sheet pan and line it with some parchment paper. This will make cleanup a breeze and keep your cookies from sticking. Pop your Milano cookies onto that lined pan and slide them into the freezer. Just a few minutes in there will help them firm up and be ready for their chocolate bath.
Now for the chocolate part! Place your white chocolate chips and vegetable oil into a microwave-safe bowl. We’re going to melt this gently. Microwave it in short 25-second bursts, stirring really well after each one. You want it smooth and creamy, so don’t rush it! This is where the magic happens, so be patient and stir until it’s perfectly melted.
Once your chocolate is beautifully melted, scoop about a quarter of it into a small resealable plastic bag. Snip just a tiny bit off one corner – this will be our piping bag for the “bandages.” Now, take your cookies out of the freezer. Spoon the remaining melted chocolate over the top two-thirds of each cookie. Gently tap off any extra chocolate, then place them back on your prepared sheet pan. Grab your little chocolate piping bag and drizzle the chocolate across the cookies to create those mummy bandage lines. Finally, while the chocolate is still wet, add two black pearl sprinkles for the eyes on each cookie. Pop them in the fridge to chill and set, and then they’re ready to enjoy!
My Top Tips for Success
- I always freeze the cookies first; it helps the chocolate set faster and gives a cleaner coating.
- In my experience, melting the chocolate slowly in short bursts prevents it from seizing or burning.
- Trust me on this one: a tiny snip on the plastic bag is key for neat, thin bandage lines. You can always snip more if needed!
- Work quickly once the cookies are coated, especially when adding the eyes, before the chocolate sets.
- Don’t over-tap the excess chocolate; a little bit of thickness makes for a sturdier mummy.
Common Mistakes to Avoid
- Overheating the chocolate: This can cause the chocolate to seize and become clumpy. Always microwave in short intervals and stir thoroughly between each.
- Not freezing the cookies: If the cookies aren’t cold, the chocolate won’t set as quickly, and your mummy might look a little messy.
- Cutting too large a hole in the piping bag: This will result in thick, unruly bandages. Start with a tiny snip, you can always make it bigger.
- Adding sprinkles after chocolate has set: The eyes won’t stick! Make sure to place them while the chocolate is still wet.
How to Store Mummy Cookies
- Room Temperature: Up to 3 days in an airtight container.
- Refrigerator: Up to 1 week in an airtight container.
Frequently Asked Questions
Can I use other types of cookies?
Yes, you can! Any flat, oval-shaped cookie would work well. Just make sure it’s sturdy enough to handle the chocolate coating.
What if my chocolate seizes?
If your chocolate becomes thick and clumpy, it’s likely overheated or got a drop of water in it. Unfortunately, seized chocolate is hard to recover, so it’s best to start with a fresh batch.
Can I use dark chocolate?
Absolutely! Dark chocolate would make for some spooky, shadowy mummies. Just follow the same melting instructions.
How far in advance can I make these?
You can make these Mummy Cookies 2-3 days in advance and store them in an airtight container at room temperature. They hold up great!
I hope these Mummy Cookies bring as much joy and spooky fun to your kitchen as they do to mine. They’re such a simple way to add a festive touch to Halloween. If you make them, I’d love to hear how they turned out!
PrintMummy Cookies
Easy and adorable no-bake cookies perfect for Halloween, made with Milano cookies and white chocolate.
- Prep Time: 15
- Total Time: 15
- Yield: 8 cookies
- Category: Dessert
- Method: No-Bake
- Cuisine: American
Ingredients
- 1 (7.5-ounce) package Milano cookies
- 1 cup white chocolate chips
- 1/2 tablespoon vegetable oil
- 32 black pearl sprinkles
Instructions
- Line a sheet pan with parchment paper.
- Place cookies on the lined sheet pan.
- Freeze cookies while melting the chocolate.
- Place white chocolate chips and vegetable oil in a microwave-safe bowl.
- Microwave in 25-second intervals.
- Stir thoroughly between each interval until the chocolate is melted and smooth.
- Transfer 1/4 of the melted chocolate to a resealable plastic bag.
- Seal the plastic bag.
- Snip a small tip off one corner of the bag.
- Spoon the remaining melted chocolate over the top 2/3 of each frozen cookie.
- Gently tap off any excess chocolate from the cookies.
- Place coated cookies back on the parchment-lined sheet pan.
- Drizzle chocolate from the snip-tipped bag over the coated cookies to create “bandages.”
- Add two black pearl sprinkles to each cookie for the eyes while the chocolate is still wet.
- Chill the cookies to set the chocolate.
- Enjoy!
Notes
Freeze the cookies for at least 10 minutes to ensure the chocolate sets quickly.
Use a good quality white chocolate for smoother melting and better flavor.
Snip a very small hole in the plastic bag for fine, delicate mummy bandages.
Work quickly when adding sprinkles as the chocolate sets fast on cold cookies.





![Easy Southern Peach Cobbler [with Canned Peaches]](https://theflakytruth.com/wp-content/uploads/2026/08/cmswa1vwj00lb102k5xxpcxh8-hero-300x300.webp)