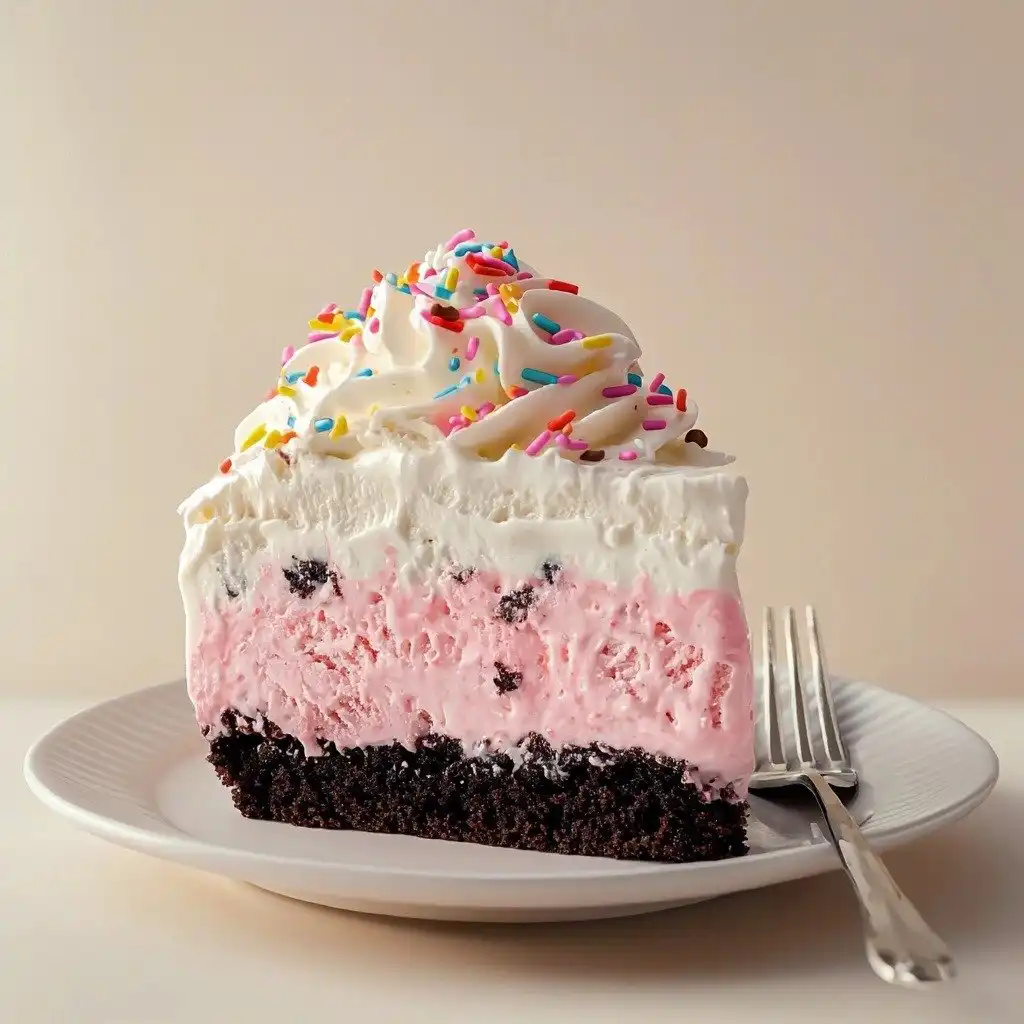
Oh, ice cream cake! There’s just something so wonderfully nostalgic about it, isn’t there? For me, it immediately brings back memories of childhood birthday parties, summer celebrations, and those special occasions where a regular cake just wouldn’t do. I’ve always loved the classic Dairy Queen version, but making one at home? That’s a whole new level of deliciousness and fun! This Homemade Ice Cream Cake (Like Dairy Queen) recipe is truly a labor of love, but it’s so much easier than you might think, and the result is absolutely worth every single step. Get ready to impress everyone!
Why You’ll Love This Homemade Ice Cream Cake (Like Dairy Queen)
- It’s creamy, crunchy, and absolutely delicious – a perfect balance of textures!
- Surprisingly simple to assemble, even for beginners.
- You can customize the ice cream flavors to exactly what you love.
- It’s a showstopper for any celebration, big or small.
Ingredients You’ll Need
- Oreo cookies: These are crushed to make the crunchy base and middle layer. Don’t worry about removing the cream filling; it adds to the flavor!
- Unsalted butter: This binds the Oreo crumbs together for a perfect crust. Unsalted is best so you can control the saltiness.
- Chocolate ice cream: This forms your delicious bottom layer. Feel free to swap it for your favorite flavor!
- Homemade hot fudge (or store-bought): This is the gooey, chocolatey magic that ties everything together. Making it from scratch is amazing, but a good quality store-bought one works too.
- Strawberry ice cream: This creates the lovely top layer. Again, pick your favorite ice cream here!
- Heavy cream: The base for our fluffy, homemade whipped cream topping. Make sure it’s very cold for the best results.
- Confectioners’ sugar: This sweetens our whipped cream and helps stabilize it.
- Pure vanilla extract: A must-have for that classic, comforting vanilla flavor in your whipped cream.
How to Make Homemade Ice Cream Cake (Like Dairy Queen) Step by Step
First things first, we’re going to get that delicious Oreo crust ready. Grab your food processor and pulse those 10 Oreos until they’re nice and crumbly. Some bigger chunks are totally fine – they add character! Then, just mix those crumbs with your melted butter. This mixture will be waiting patiently for its moment to shine.
Next, let’s get our first ice cream layer going. Take your chocolate ice cream out of the freezer about 10 minutes before you start, so it softens up a bit. While that’s happening, line your springform pan with plastic wrap. This is super important for easy removal later, trust me on this one! Once your chocolate ice cream is softened, scoop it into the pan and spread it out as evenly as you can. Don’t worry if it’s not perfect; it’s going into the freezer for 30 minutes to firm up.
While that layer chills, you can either whip up your homemade hot fudge or warm up your store-bought version until it’s lovely and spreadable. After the first 30 minutes, pull out your pan, pour half of that delicious hot fudge over the chocolate ice cream, and then sprinkle on your Oreo-butter mixture. Back into the freezer it goes for another 30 minutes! About 20 minutes into that second freeze, take your strawberry ice cream out to soften. Once your cake is ready, drizzle the remaining hot fudge over the Oreo layer, then quickly spread your softened strawberry ice cream on top. Cover it up, and now comes the hardest part: waiting! It needs at least 12 hours, or even up to 2 days, in the freezer to set up beautifully.
My Top Tips for Success
- I always freeze my serving plate or cutting board for at least 30 minutes before transferring the cake. This helps prevent the bottom layer from melting too quickly.
- In my experience, using a springform pan makes removal so much easier. The plastic wrap lining is your best friend here!
- Trust me on this one: let your ice cream soften just enough to be spreadable, but not completely melted. This makes for cleaner layers.
- When making the whipped cream, ensure your heavy cream is very cold. This helps it whip up faster and hold stiff peaks.
- For clean slices, use a very sharp knife and dip it into hot water between each cut. Wipe it dry before slicing again!
Common Mistakes to Avoid
- Not softening the ice cream enough: This makes it really hard to spread evenly and can damage your layers. Take it out for 10 minutes beforehand!
- Over-softening the ice cream: If it’s too soft, it will melt too quickly and your layers won’t be distinct. Aim for spreadable, not soupy.
- Not freezing layers long enough: Rushing this step will lead to messy, melty layers. Give each layer its full 30 minutes in the freezer.
- Forgetting the plastic wrap: Without it, getting the cake out of the pan will be a nightmare. Line that pan well!
- Not covering the cake properly for long-term freezing: This can lead to freezer burn. Make sure it’s tightly wrapped!
How to Store Homemade Ice Cream Cake (Like Dairy Queen)
- Short-term storage (up to 1 hour after decorating): Keep the cake in the freezer, covered loosely with plastic wrap or foil.
- Long-term storage (leftovers): Cover the cake tightly with plastic wrap and then aluminum foil. It will keep well in the freezer for up to 2 weeks.
Frequently Asked Questions
Can I use different ice cream flavors?
Absolutely! Feel free to switch out the chocolate and strawberry for any flavors you love. Just make sure they are good quality ice creams.
Do I have to use a springform pan?
While a springform pan is highly recommended for easy removal, you can use a 9×13-inch or 8-inch square pan. Just be aware that serving will be a bit different.
Can I make the hot fudge ahead of time?
Yes, you can make homemade hot fudge several days in advance. Store it in an airtight container in the refrigerator and warm it gently before using.
How do I prevent the cake from melting too quickly when serving?
The best way is to freeze your serving plate and work quickly when decorating and slicing. You can also place the cake back in the freezer for 15-20 minutes between servings if needed.
What if I don’t have a food processor for the Oreos?
No problem! You can place the Oreos in a sturdy zip-top bag and crush them with a rolling pin or the bottom of a heavy pan until you have coarse crumbs.
I truly hope this Homemade Ice Cream Cake (Like Dairy Queen) brings a huge smile to your face and those you share it with. It’s such a fun project, and the end result is pure joy! Give it a try, and let me know how your delicious, layered masterpiece turns out!
PrintHomemade Ice Cream Cake (Like Dairy Queen)
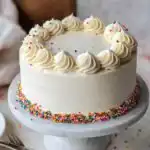
A delightful layered ice cream cake featuring an Oreo crust, hot fudge, and your favorite ice cream flavors, topped with fluffy whipped cream.
- Prep Time: 40
- Total Time: 760
- Yield: 12 servings
- Category: Dessert
- Method: No-Bake
- Cuisine: American
Ingredients
- 10 Oreo cookies (110g)
- 2 Tablespoons (28g) unsalted butter, melted
- 1.5 quarts (48 ounces/3 pints/1.42L) chocolate ice cream, softened (or other flavor)
- 1 cup (8 ounces/227g) homemade hot fudge (or use store-bought), divided
- 1.5 quarts (48 ounces/3 pints/1.42L) strawberry ice cream, softened (or other flavor)
- 2 cups (480g/ml) heavy cream, cold
- 1/3 cup (40g) confectioners’ sugar
- 1 and 1/2 teaspoons pure vanilla extract
- optional for garnish: sprinkles
Instructions
- Pulse 10 Oreos into a coarse crumb in a food processor or blender.
- Mix the Oreo crumbs with the melted butter.
- Set the Oreo-butter mixture aside.
- Remove chocolate ice cream from the freezer to soften for 10 minutes.
- Line a 9×3-inch or 10×3-inch springform pan with plastic wrap.
- Scoop the softened chocolate ice cream into the lined pan.
- Use the back of a large spoon to spread the chocolate ice cream into an even layer.
- Place the pan in the freezer for 30 minutes.
- Prepare homemade hot fudge or warm up store-bought hot fudge until spreadable.
- Pour and spread 1/2 cup of hot fudge evenly over the frozen chocolate ice cream layer.
- Sprinkle the Oreo-butter mixture over the hot fudge layer.
- Freeze the pan for 30 minutes.
- After 20 minutes of the second freeze, remove strawberry ice cream from the freezer to soften for 10 minutes.
- Drizzle the remaining 1/2 cup hot fudge on top of the Oreo layer.
- Spoon and spread the softened strawberry ice cream into an even layer.
- Cover the cake with plastic wrap or aluminum foil.
- Freeze the cake for at least 12 hours and up to 2 days.
- Place your desired cake plate or cutting board in the freezer for at least 30 minutes.
- Beat cold heavy cream, confectioners' sugar, and vanilla on medium-high speed until stiff peaks form (about 4 minutes).
- Remove the frozen ice cream cake from the freezer.
- Remove the rim from the springform pan.
- Lift the cake up using the plastic wrap and carefully peel off the plastic.
- Place the cake back on the bottom of the springform pan or the frozen cake plate/cutting board.
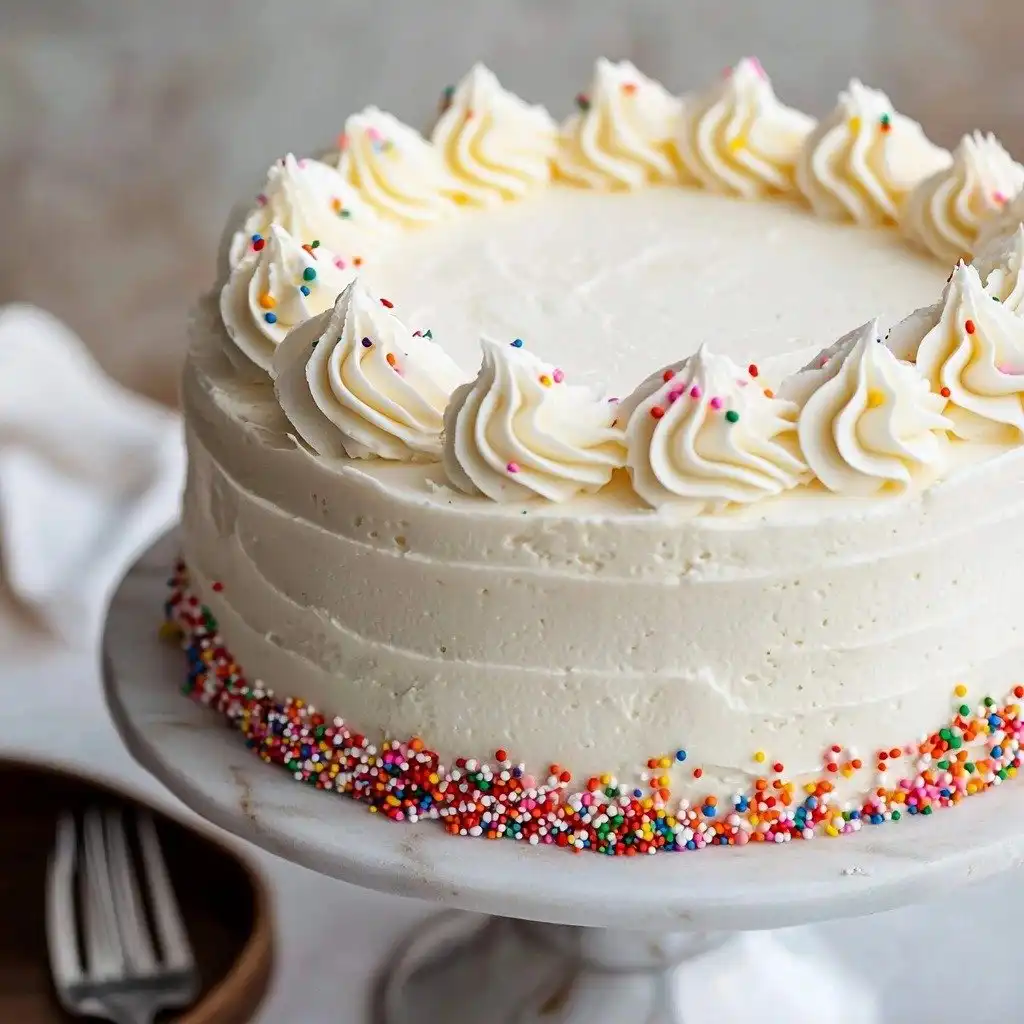
- Working quickly, spread the whipped cream all over the top and sides of the ice cream cake.
- Pipe a border around the top of the cake with whipped cream, if desired (e.g., using Wilton 1M tip).
- Garnish with sprinkles, if desired.
- Slice and serve immediately.
- Use a very sharp knife to cut, dipping it into a glass of hot water between slices.
- Keep leftover ice cream cake covered in the freezer.
Notes
Always use very cold heavy cream for the best whipped cream results.
For clean slices, dip your knife in hot water between each cut.
Freeze your serving plate to prevent the cake from melting too quickly.
Make sure to line your springform pan well with plastic wrap for easy removal.



![Easy Southern Peach Cobbler [with Canned Peaches]](https://theflakytruth.com/wp-content/uploads/2026/08/cmswa1vwj00lb102k5xxpcxh8-hero-300x300.webp)