There’s just something magical about the smell of apples and cinnamon baking in the oven, isn’t there? For me, apple pie isn’t just a dessert; it’s a hug in a pie plate, a taste of comfort that brings back memories of crisp autumn days and family gatherings. I’ve tried so many apple pie recipes over the years, but this Easy Apple Pie recipe is the one I keep coming back to. It’s truly a classic, simple to make, and always a crowd-pleaser.
Why You’ll Love This Easy Apple Pie
- It’s surprisingly simple to put together, even if you’re new to baking pie.
- The filling is perfectly balanced—sweet, tart, and spiced just right.
- You get that incredible flaky crust with a tender, juicy apple interior.
- It’s perfect for any occasion, from a casual weeknight treat to a holiday centerpiece.
Ingredients You’ll Need
- Granny Smith apples: These are your best friends for apple pie! Their tartness holds up beautifully to baking, giving you that classic sweet-tart balance. Don’t substitute with softer, sweeter apples, or your pie might turn out mushy.
- Granulated and light brown sugar: The combination gives depth of flavor and helps create that wonderful syrupy filling. Light brown sugar adds a subtle molasses note that’s just perfect.
- All-purpose flour: This is a key thickener for the apple juices, ensuring your pie isn’t watery.
- Ground cinnamon and nutmeg: The classic duo for apple pie spices! They add warmth and aroma.
- Lemon juice and zest: Don’t skip this! The lemon brightens up the flavors, prevents the apples from browning, and adds a little zing.
- Egg: Just a little for an egg wash, which gives your pie crust that beautiful golden sheen.
- Sanding sugar: Totally optional, but it adds a lovely sparkle and a little extra crunch to the crust.
How to Make Easy Apple Pie Step by Step
First things first, you’ll want to get your pie crust ready. Whether you’re using homemade dough or store-bought, make sure it’s chilled and ready to go. While your crust is chilling, go ahead and preheat your oven to 400°F (204°C) with the oven rack in the center. This ensures your pie bakes evenly.
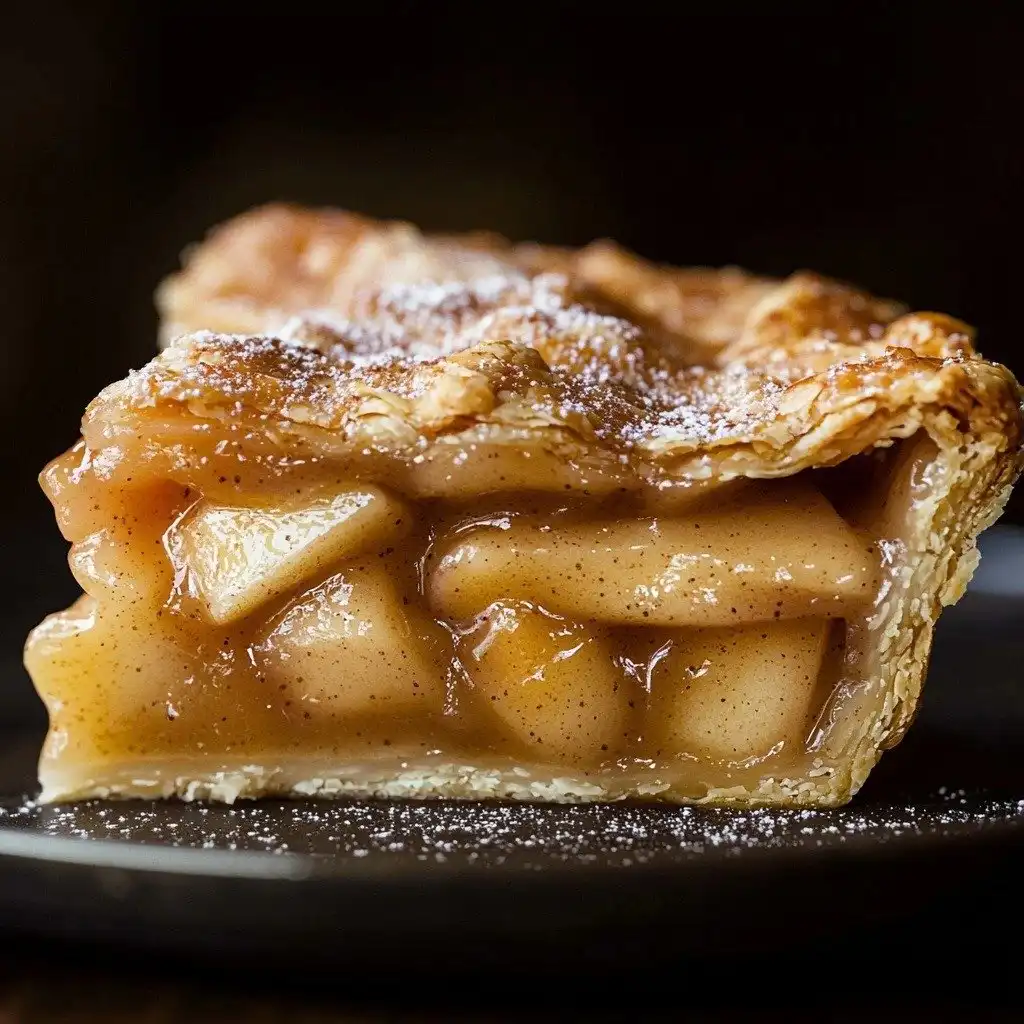
Next, let’s tackle the filling! In a big bowl, combine your peeled, cored, and sliced Granny Smith apples with both sugars, flour, cinnamon, nutmeg, lemon juice, and lemon zest. Give it a good toss to make sure every apple slice is coated in that delicious mixture. This is where the magic happens, as the apples will start to release their juices, creating that luscious pie filling.
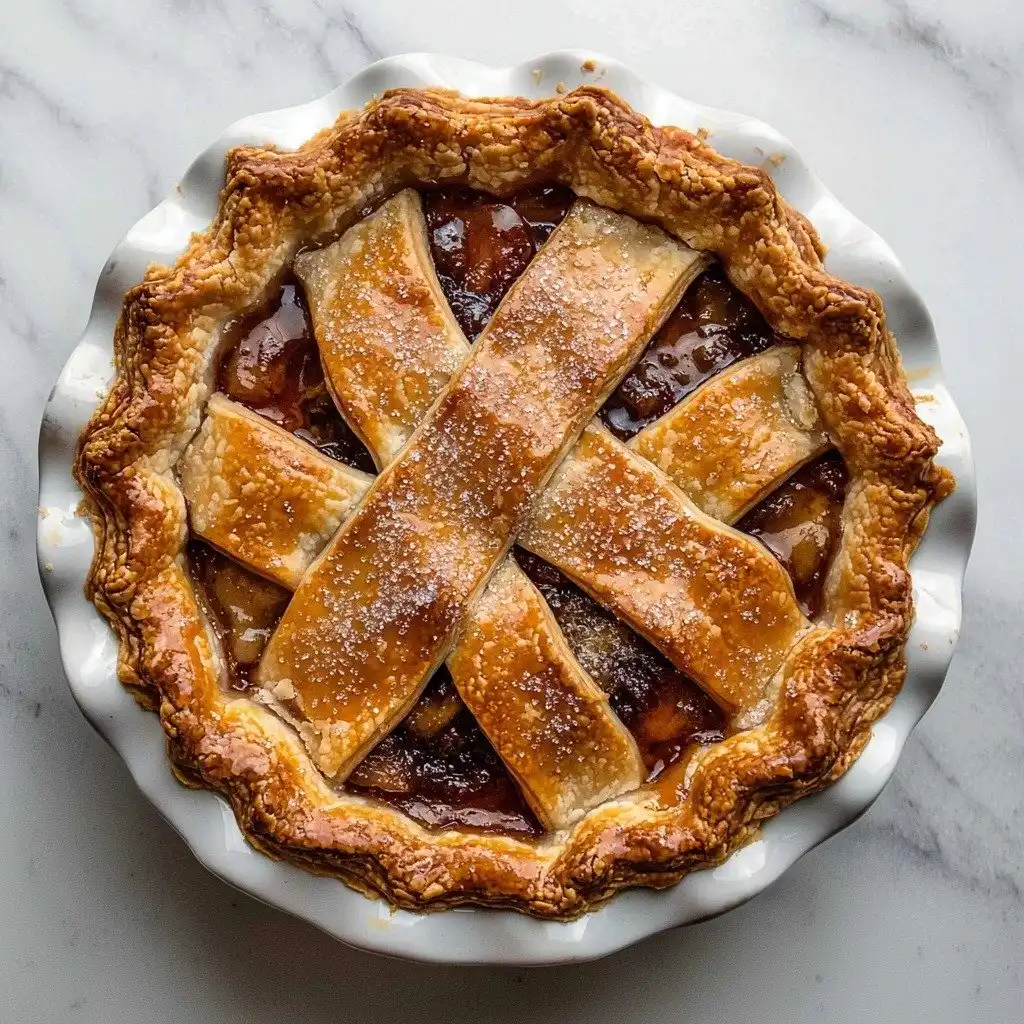
Now it’s time to assemble! Roll out one disc of your pie dough into a 12-inch circle and carefully lay it into your pie plate. Spoon all that apple filling over the bottom crust, leaving behind any excess liquid at the bottom of the bowl—we want a perfectly set pie, not a soggy one! Roll out your second crust, place it over the filling, and then trim and seal the edges. Don’t worry if it’s not perfect; rustic pies are charming! Cut 4 slits in the top for steam to escape, brush with your egg wash, and sprinkle with sanding sugar if you like. Don’t forget that pie shield or foil strip for the edges to prevent over-browning during the first 25 minutes of baking at 400°F (204°C). After 25 minutes, carefully remove the shield, reduce the oven temperature to 375°F, and continue baking for another 30-35 minutes until it’s golden brown and bubbly.
My Top Tips for Success
- I always use Granny Smith apples for pie; their tartness is unmatched and they hold their shape beautifully.
- Don’t skip chilling your pie dough! It makes it much easier to work with and helps create a flaky crust.
- In my experience, a pie shield is a game-changer for preventing burnt crust edges. Trust me on this one!
- Let your pie cool completely, for at least 3 hours. This allows the filling to set properly, so you get clean slices.
- A little lemon zest in the filling really brightens up the flavors—it’s a secret weapon!
Common Mistakes to Avoid
- Using soft apples: If you use apples that are too sweet or soft, your pie filling can turn out mushy. Stick with firm, tart apples like Granny Smith.
- Not chilling the pie crust: If your dough isn’t cold, it can be sticky and hard to roll, leading to a tough crust. Always chill your dough for at least an hour.
- Overfilling the pie: Too much filling can cause the pie to bubble over in the oven. Make sure to level the filling and discard any excess liquid from the bowl.
- Not venting the top crust: Without slits, steam builds up, which can make your crust soggy or even crack it. Always cut those vents!
- Cutting into a hot pie: This is a tough one, but if you cut it too soon, the filling will be runny. Patience is key for a perfectly set slice.
How to Store Easy Apple Pie
- Room temperature: Up to 2 days, loosely covered with plastic wrap or foil.
- Refrigerator: Up to 4-5 days, covered tightly with plastic wrap or foil.
- Freezer (baked): Up to 3 months, wrapped tightly in plastic wrap and then foil. Thaw overnight in the refrigerator and reheat gently.
What kind of apples are best for Easy Apple Pie?
Granny Smith apples are absolutely the best for apple pie. Their tartness balances the sweetness, and they hold their shape well during baking.
Can I use store-bought pie crust for this recipe?
Yes, absolutely! Store-bought pie crusts work wonderfully and make this Easy Apple Pie even quicker to prepare. Just follow the package directions for handling.
How do I prevent the pie crust from getting soggy?
To prevent a soggy bottom, make sure your oven is preheated properly and bake the pie on the center rack. Also, ensure you discard any excess liquid from the apple mixture before spooning it into the crust.
Why do I need to add lemon juice to the apples?
Lemon juice brightens the flavor of the apples and helps prevent them from browning. It also adds a nice tart counterpoint to the sweetness of the sugars.
How long should I let the pie cool before slicing?
It’s crucial to let your Easy Apple Pie cool for at least 3 hours, or even longer, at room temperature. This allows the filling to fully set, giving you beautiful, clean slices.
I hope this Easy Apple Pie brings as much warmth and deliciousness to your home as it does to mine. There’s nothing quite like a slice of homemade apple pie, warm from the oven, maybe with a scoop of vanilla ice cream! If you try this recipe, please let me know how it turns out—I’d love to hear about your baking adventures!
PrintEasy Apple Pie
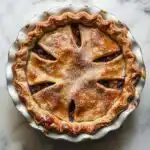
A classic, comforting apple pie with a flaky crust and perfectly spiced, tender apple filling.
- Prep Time: 25
- Cook Time: 60
- Total Time: 205
- Yield: 8 servings
- Category: Dessert
- Method: Baking
- Cuisine: American
- Diet: Vegetarian
Ingredients
- 2 (9") pie crusts
- 7 large Granny Smith apples peeled, cored and sliced into ½ inch slices
- ½ cup granulated sugar
- ½ cup light brown sugar loosely packed
- 2 tablespoons all-purpose flour
- 1 teaspoon ground cinnamon
- ⅛ teaspoon ground nutmeg
- 1 tablespoon lemon juice plus the zest of half of a lemon
- 1 large egg lightly beaten in a small bowl for egg wash
- 2 tablespoons sanding sugar optional
Instructions
- Prepare your pie crusts, ensuring they are chilled for at least 1 hour.
- Place oven rack in the center position.
- Preheat the oven to 400°F (204°C).
- In a large bowl, combine the sliced apples, granulated sugar, light brown sugar, flour, cinnamon, nutmeg, lemon juice, and lemon zest.
- Toss the apple mixture to coat evenly.
- Remove one pie crust dough disc from the fridge and let it rest at room temperature for 5-10 minutes.
- On a lightly floured surface, roll the first disc into a 12" circle that is ⅛" thick.
- Carefully lay the rolled crust into the bottom of a deep dish pie plate.
- Spoon the apple filling over the bottom crust, discarding any juices at the bottom of the bowl.
- Roll out the second disc of pie crust until it is ⅛" thick.
- Lay the second crust over the apple filling.
- Use a sharp knife to trim the dough along the outside edge of the pie plate.
- Lift the edges where the two pie crusts meet.
- Gently press the crusts to seal them together.
- Fold the sealed edges under.
- Rotate the pie plate and repeat this process until edges are neatly tucked under themselves.
- Cut 4 slits in the top of the dough to allow steam to vent.
- Place the pie on a baking sheet.
- Brush the surface of the pie crust with the lightly beaten egg wash.
- Sprinkle with sanding sugar, if desired.
- Cover the edges of the pie with a pie shield or a strip of foil to prevent over-browning.
- Bake at 400°F (204°C) for 25 minutes.
- Carefully remove the pie shield or foil from the edges.
- Turn the oven down to 375°F (190°C).
- Continue to bake for an additional 30-35 minutes.
- Bake until the top is golden brown and the juices are bubbly.
- Cool the pie at room temperature for at least 3 hours before slicing and serving.
Notes
Always use tart, firm apples like Granny Smith for best texture.
Ensure your pie crust is well-chilled before rolling for flaky results.
Don’t skip the lemon juice and zest; it brightens the flavor.
Let the pie cool completely for at least 3 hours for a set filling.

![Easy Southern Peach Cobbler [with Canned Peaches]](https://theflakytruth.com/wp-content/uploads/2026/08/cmswa1vwj00lb102k5xxpcxh8-hero-768x768.webp)


![Easy Southern Peach Cobbler [with Canned Peaches]](https://theflakytruth.com/wp-content/uploads/2026/08/cmswa1vwj00lb102k5xxpcxh8-hero-300x300.webp)