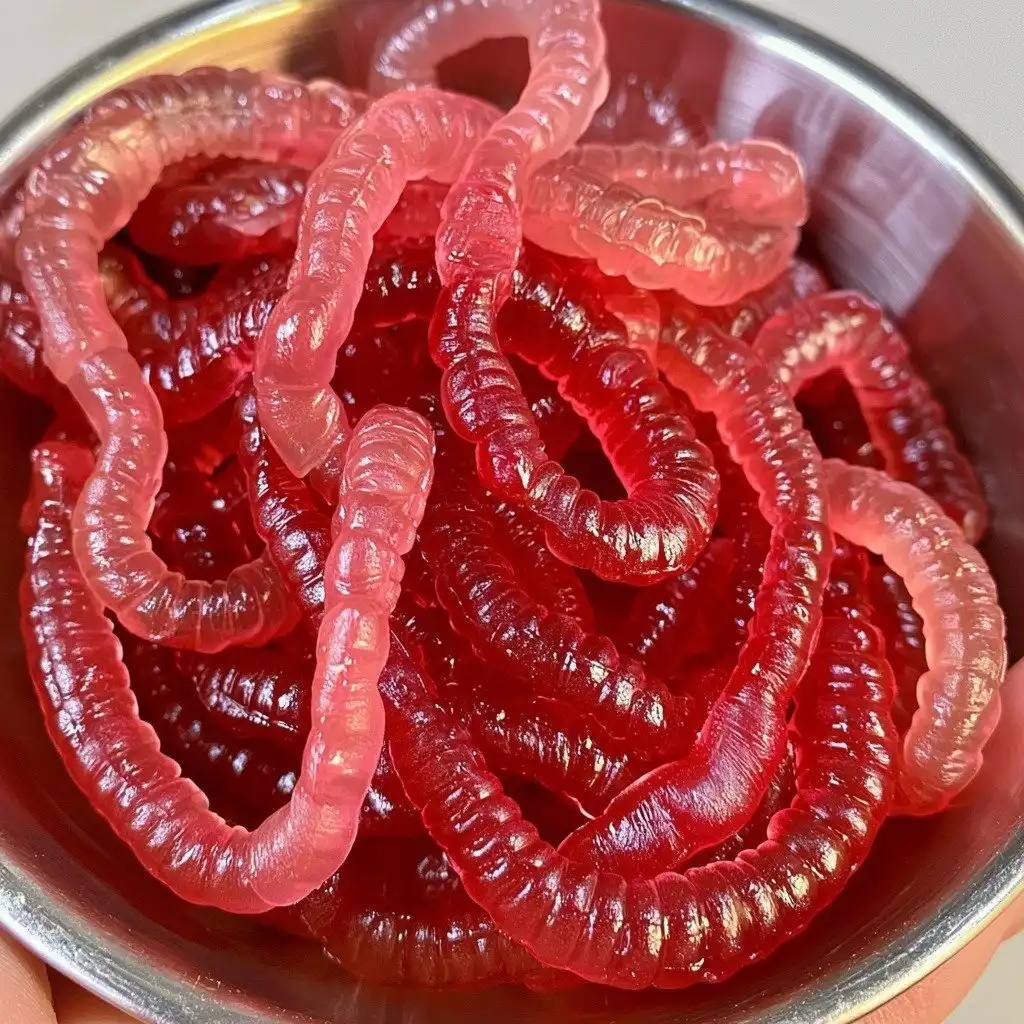
Every Halloween, my kitchen turns into a mad scientist’s lab, full of bubbling concoctions and spooky treats! There’s just something so fun about making food that’s a little bit creepy, but still totally delicious. This year, we’re bringing back a classic that always gets gasps and giggles: my famous Bowl of Worms: How to Make Jello Worms. They’re wiggly, jiggly, and perfect for a spooky spread or just a fun afternoon project with the kids!
Why You’ll Love This Bowl of Worms: How to Make Jello Worms
- These worms are incredibly easy to make – seriously, even a beginner can do it!
- The texture is so fun and wiggly, just like real worms (but, you know, tastier).
- They’re a total showstopper for Halloween parties or any spooky-themed gathering.
- You only need a few simple ingredients to create this fantastic illusion.
Ingredients You’ll Need
- Raspberry Jello: This gives our worms their vibrant color and fruity flavor. Make sure you grab the regular-sized box, not the large one!
- Unflavoured Gelatin: This is the secret to getting that perfect wiggly, firm texture. It helps the worms hold their shape.
- Boiling Water: Essential for dissolving all that gelatin goodness.
- Flexible Straws: These are crucial for forming the worm shapes. The more you have, the more worms you can make!
- Whipping Cream: Don’t whip it! Just stir it in for a cloudy, opaque effect that makes the worms look even more realistic.
- Green Food Colouring: A few drops transform our creamy mixture into a spooky, earthy green.
- Wide Mouth Mason Jar or Cylindrical Glass Vase: This holds your straws upright while the Jello sets. A dollar store vase works perfectly!
How to Make Bowl of Worms: How to Make Jello Worms Step by Step
First things first, grab a large measuring cup – this will be your main mixing bowl. Carefully combine your raspberry Jello and the unflavored gelatin right in there. Now, pour in your boiling water and stir, stir, stir! You want to make sure every single granule of gelatin is completely dissolved. Take your time with this step; it’s important for a smooth mixture.
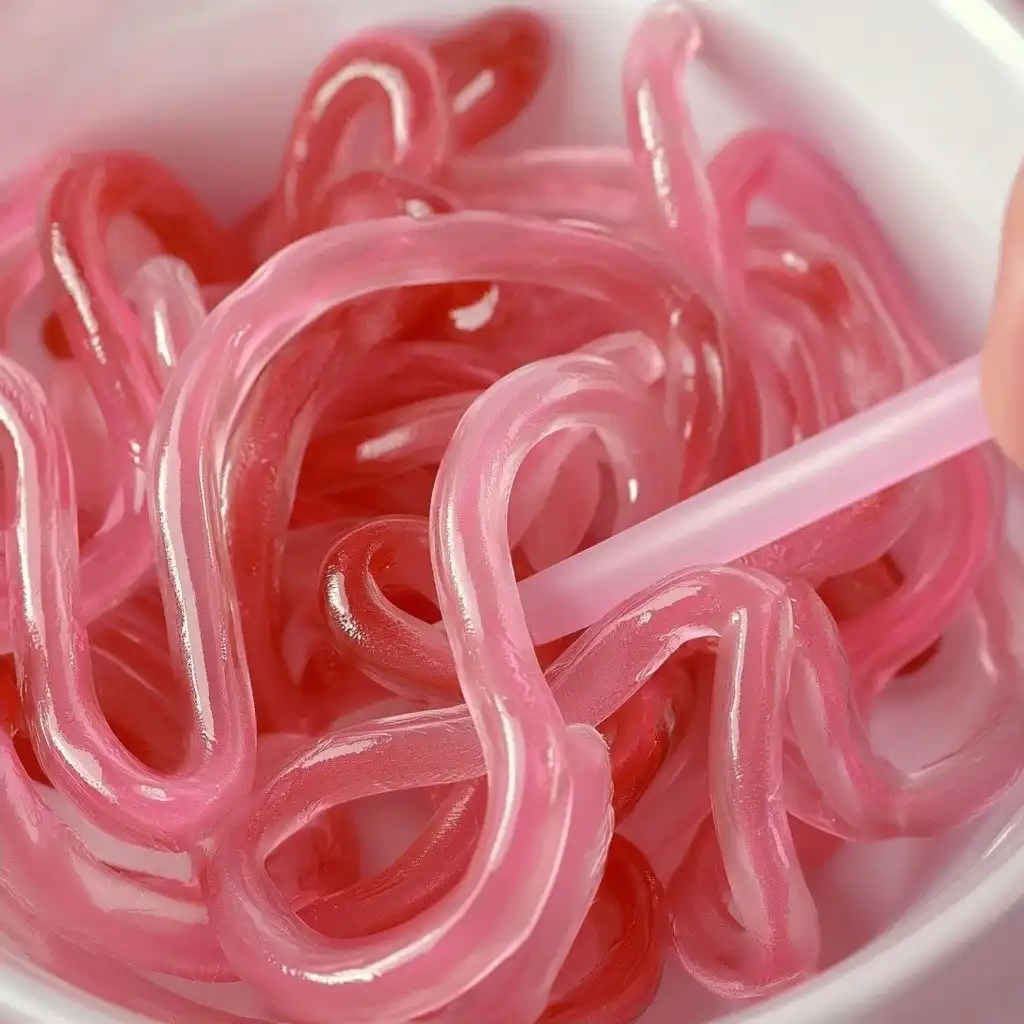
Once everything is dissolved, pop that measuring cup into the fridge for about 20 minutes. We’re looking for it to cool down to lukewarm. While that’s chilling, it’s time to prep your “worm farm”! Take each flexible straw and stretch open the bendy part. This makes them longer and gives the worms that segmented look. Stand all your stretched-out straws upright in your mason jar or vase, with the flexible end pointing towards the bottom.
Now for the spooky color! In a separate small bowl, add the green food coloring to your whipping cream. Give it a gentle stir until the color is evenly distributed – just stir it, no whipping needed! Pour this green cream mixture into your lukewarm Jello mixture and stir it all together until it’s beautifully combined. This is where the magic happens and your worms get their opaque, earthy look.
Carefully pour the Jello mixture over the top of your straws in the jar. Don’t worry about filling each individual straw; they’ll self-level as the mixture seeps down. Once your jar is full, it’s patience time! Transfer the jar to the fridge and let it chill for at least 8 hours. This is crucial for the worms to set up properly. When you’re ready to unleash your worms, run each straw under hot water for just a few seconds. Then, starting from the top, pinch the straw and squeeze out your wiggly worms! It’s so satisfying!
My Top Tips for Success
- I always make sure my gelatin is completely dissolved before chilling; otherwise, you can get grainy worms.
- Trust me on this one: stretching the flexible straws really helps create that realistic segmented look!
- Don’t be tempted to skip the 8-hour chill time. In my experience, longer is better for firm, squeezable worms.
- When squeezing out the worms, a little hot water goes a long way to loosen them up without melting them.
- If you’re making a big batch, having an extra set of hands to squeeze out worms is a game-changer!
Common Mistakes to Avoid
- Not dissolving gelatin completely: This happens if your water isn’t hot enough or you don’t stir long enough. You’ll end up with gritty worms. Keep stirring until no granules remain!
- Not chilling long enough: If you try to squeeze the worms out too soon, they’ll just break apart and be a gooey mess. Patience is key for firm worms!
- Whipping the cream: If you whip the cream, it will separate and create a lumpy texture in your worms. Just a gentle stir is all you need.
- Using cold water for straws: If the water isn’t hot enough when releasing the worms, they’ll stick inside the straws. Use truly hot water for a quick release.
How to Store Bowl of Worms: How to Make Jello Worms
- Refrigeration: Store finished worms on a wax paper-lined baking sheet, covered loosely, in the fridge. They’ll keep for up to 2 days.
- Advance Prep: You can make these up to 2 days in advance of serving.
Frequently Asked Questions
What if I don’t have flexible straws?
Flexible straws work best for the segmented look, but you can use regular straws. Your worms will just be smooth instead of ridged.
Can I use a different Jello flavor?
Absolutely! Any dark-colored Jello like grape or lime would work well for a “wormy” appearance. Raspberry just gives a fun, vibrant hue.
My worms are breaking when I try to squeeze them out. What’s wrong?
They likely haven’t chilled long enough, or the hot water wasn’t quite hot enough. Give them more time in the fridge, and ensure your water is good and hot for a quick pass.
Can I make these dairy-free?
The recipe uses whipping cream for opacity. You could experiment with a dairy-free creamer, but the texture and color might vary slightly.
I hope these wiggly, jiggly creations bring a huge smile (or a delightful shiver!) to your face! Making a Bowl of Worms: How to Make Jello Worms is such a fun and unique project, and it’s always a hit. Give them a try, and let me know how your creepy-crawly treats turn out!
PrintBowl of Worms: How to Make Jello Worms
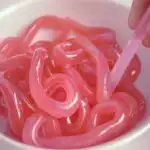
Fun, wiggly, and perfect for Halloween, these Jello worms are surprisingly easy to make and a total crowd-pleaser!
- Prep Time: 25
- Total Time: 505
- Yield: 20-30 worms (depending on straw size)
- Category: Dessert
- Method: No-Bake
- Cuisine: American
Ingredients
- 1 package Raspberry Jello, the regular sized box, not the large box
- 3 packages Unflavoured Gelatin
- 3 cups Boiling Water
- 125 Flexible Straws
- 3/4 cup Whipping Cream
- 15 drops Green Food Colouring
- 1 Wide Mouth Mason Jar, 4 cup size or Round Cylindrical Glass Vase (the dollar store will have something)
Instructions
- Combine the raspberry Jello and unflavoured gelatin in a large measuring cup.
- Add the boiling water to the gelatin mixture.
- Stir until the gelatin is completely dissolved.
- Chill the mixture in the fridge for 20 minutes, or until it is lukewarm.
- Stretch each of the 125 flexible straws open to extend their flexible parts.
- Place the stretched straws into the mason jar or cylindrical glass vase with the flexible side closer to the bottom.
- Add 15 drops of green food colouring to the 3/4 cup whipping cream in a separate bowl.
- Stir the green food colouring into the whipping cream until well combined (do not whip).
- Pour the whipping cream mixture into the lukewarm Jello mixture.
- Stir the Jello and cream mixture until it is well combined.
- Pour the combined mixture through the top of the straws until the container is full.
- Chill the jar with straws in the fridge for at least 8 hours.
- Run each straw under hot water for a few seconds to loosen the Jello.
- Pinch the straw from the top down to squeeze out each worm.
- If making in advance, squeeze the worms onto a waxed paper lined baking sheet.
- Store the finished worms, covered, in the fridge until ready to serve.
Notes
Ensure all gelatin is fully dissolved for smooth worms.
Stretching the flexible straws creates realistic segmented worms.
Chill for at least 8 hours for firm, easy-to-release worms.
Use hot water briefly to help the worms slide out of the straws.

![Easy Southern Peach Cobbler [with Canned Peaches]](https://theflakytruth.com/wp-content/uploads/2026/08/cmswa1vwj00lb102k5xxpcxh8-hero-300x300.webp)