There’s something so comforting about a really good cookie, isn’t there? For me, it often starts with a craving for something sweet but with a little edge. One afternoon, I was dreaming of a cookie that wasn’t just sweet, but also had that perfect chew and a hint of something special. That’s how I landed on these Salted Honey Cookies: Chewy, Glossy, And Perfectly Caramelized. They’re so much more than just a cookie; they’re an experience!
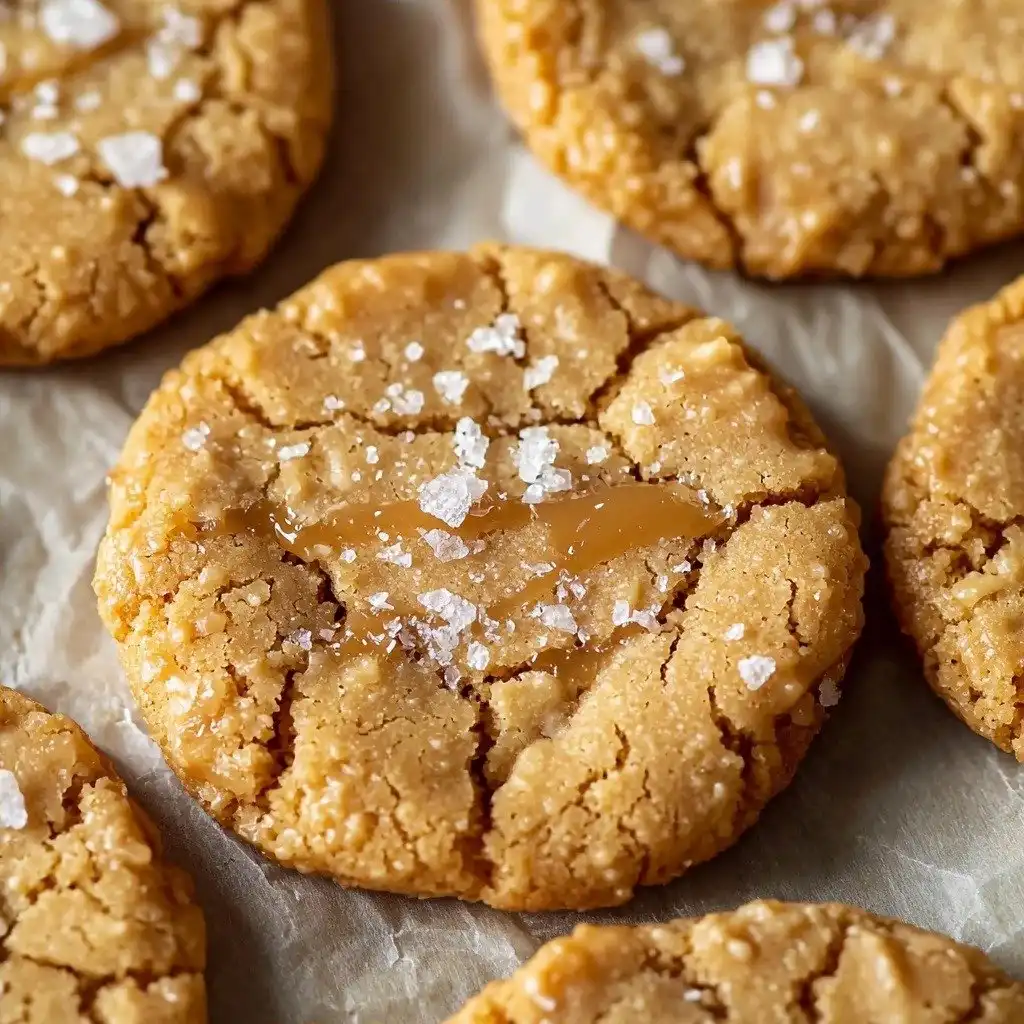
Why You’ll Love This Salted Honey Cookies: Chewy, Glossy, And Perfectly Caramelized
- They are incredibly easy to make, perfect for beginners!
- The texture is out of this world – chewy centers with perfectly crispy edges.
- That blend of honey, brown sugar, and sea salt is seriously addictive.
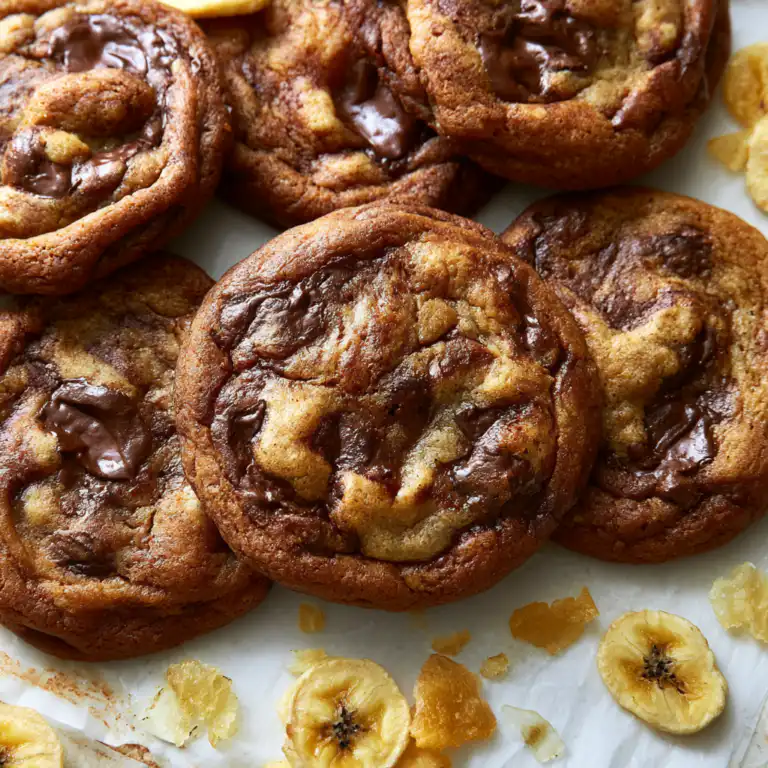
- They look absolutely stunning with their glossy, cracked tops, making them perfect for sharing.
Ingredients You’ll Need
- Unsalted Butter: Melting it first gives these cookies their unique texture. Make sure it’s slightly cooled so it doesn’t cook your egg!
- Pure Honey: This is the star of the show. Clover or wildflower honey works beautifully, adding that signature floral sweetness and helping with the chewiness.
- Dark Brown Sugar: Packed tightly, this adds deep caramel notes and moisture, contributing to the chewy texture.
- Granulated Sugar: Just your standard white sugar, balancing the sweetness and helping with spread.
- Large Egg: Make sure it’s at room temperature! This helps it emulsify better with the wet ingredients for a smoother dough.
- Vanilla Extract: Pure vanilla is always best for flavor. It really brightens up all the other sweet notes.
- All-Purpose Flour: Spooned and leveled, this is crucial for the right consistency. Don’t pack it in!
- Baking Soda: This is what gives your cookies that perfect rise and spread.
- Kosher Salt: For the dough itself, it balances the sweetness beautifully.
- Flaky Sea Salt: This is a must for sprinkling on top! Those large crystalline flakes add the perfect salty crunch and a gorgeous finish.
How to Make Salted Honey Cookies: Chewy, Glossy, And Perfectly Caramelized Step by Step
First things first, grab a big mixing bowl. You’re going to combine your melted butter, honey, both sugars, egg, and vanilla. Whisk it really well for about two minutes. You want it to look lighter in color and super smooth – this is where the magic starts to happen and you get that beautiful glossy texture!
Next, it’s time for the dry ingredients. Gently sprinkle your flour, baking soda, and kosher salt over your wet mixture. Now, with a rubber spatula, fold everything together. Be gentle! Only mix until you can’t see any more streaks of flour. Overmixing is a common mistake and can make your cookies tough, so stop as soon as it’s just combined.
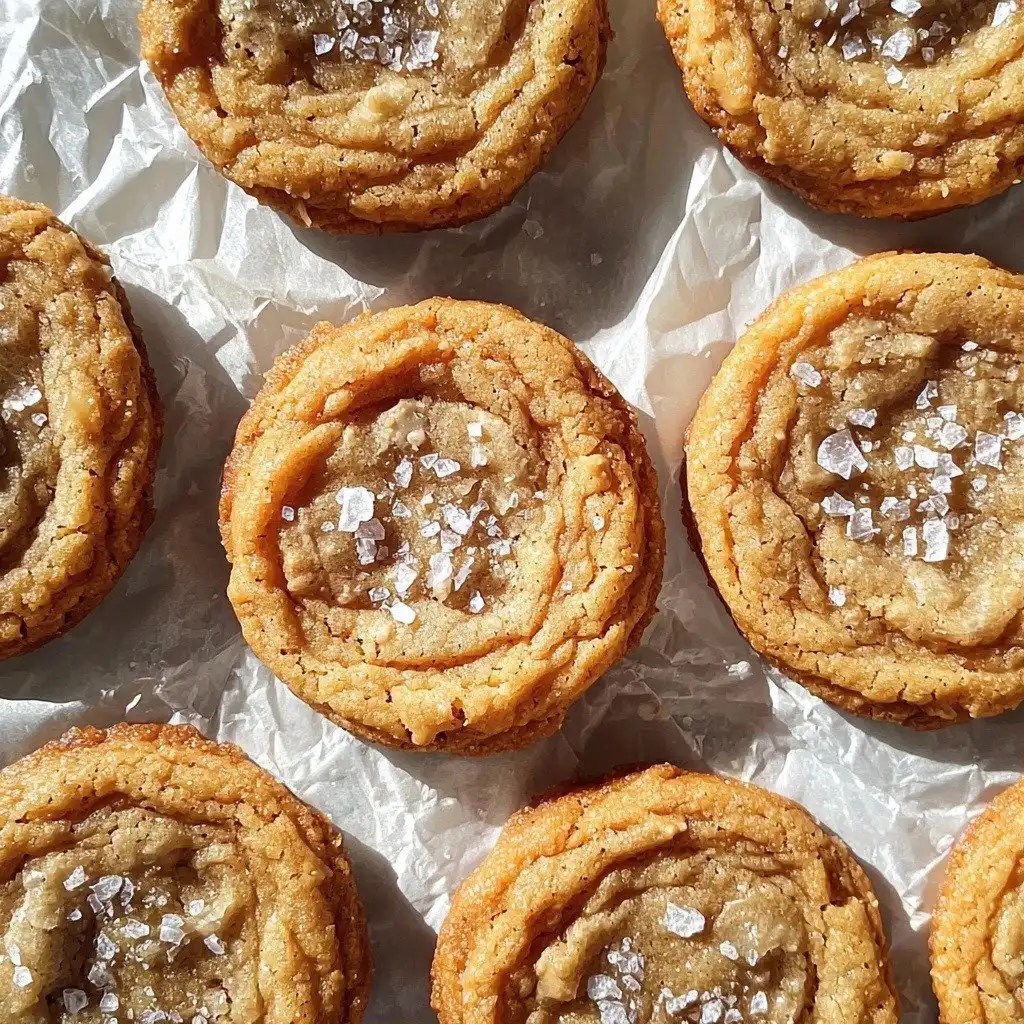
Now for a super important step: cover your dough and pop it in the fridge for exactly 30 minutes. This chilling time helps the butter firm up, which prevents your cookies from spreading too much in the oven. While it’s chilling, preheat your oven to 350°F (175°C) and line a baking sheet with crinkled white parchment paper. Scoop out 2-tablespoon portions of dough, leaving about 3 inches between each. Bake them for 10-12 minutes; you’re looking for crispy, caramelized edges but a pale, soft center. As soon as they come out, tap the baking sheet firmly on the counter a couple of times – this creates those gorgeous glossy, cracked tops! Don’t forget to sprinkle generously with flaky sea salt while they’re still hot.
My Top Tips for Success
- I always make sure my melted butter is slightly cooled before adding it to the sugars. This prevents it from cooking the egg.
- In my experience, using room temperature egg makes a huge difference in how well it emulsifies with the other ingredients.
- Trust me on this one: don’t skip the chilling step! That 30 minutes is crucial for preventing flat cookies.
- Always spoon and level your flour – never scoop directly from the bag. Too much flour will make your cookies dry and crumbly.
- Don’t be shy with the flaky sea salt! It’s what really makes these cookies sing.
- Crinkling the parchment paper helps distribute heat more evenly and can prevent sticking.
Common Mistakes to Avoid
- Overmixing the Dough: This develops the gluten too much, leading to tough cookies. Stop mixing as soon as the flour disappears.
- Not Chilling the Dough: If you skip the 30-minute chill, your cookies will spread too much and end up thin and crispy instead of chewy.
- Overbaking: Baking for too long will result in dry, hard cookies. Look for crispy edges and pale centers.
- Using Cold Egg: A cold egg won’t emulsify properly with the melted butter and sugar, leading to a less cohesive dough.
- Not Tapping the Tray: That post-bake tap is key for creating the glossy, crinkled tops and chewy centers.
How to Store Salted Honey Cookies: Chewy, Glossy, And Perfectly Caramelized
- Countertop: Store in an airtight container at room temperature for up to 3-4 days.
- Freezer (Dough): Scoop portions of dough onto a parchment-lined tray and freeze until solid. Transfer to a freezer-safe bag for up to 3 months. Bake from frozen, adding an extra minute or two to the bake time.
- Freezer (Baked Cookies): Once completely cooled, place in an airtight, freezer-safe container or bag for up to 2 months. Thaw at room temperature.
Frequently Asked Questions
What kind of honey should I use?
Clover or wildflower honey works best for these cookies. Their mild, sweet flavor complements the other ingredients without being overpowering.
Can I make the dough ahead of time?
Yes, you can! After chilling for 30 minutes, you can keep the dough covered in the refrigerator for up to 2 days before baking.
Why do I need to tap the baking sheet?
Tapping the hot baking sheet on the counter deflates the cookies slightly, creating those beautiful glossy, cracked tops and ensuring a wonderfully chewy center.
Can I use regular salt instead of kosher salt in the dough?
You can, but you’ll need to adjust the amount. Kosher salt has larger crystals, so if using table salt, use about half the amount to avoid making them too salty.
My cookies spread too much. What went wrong?
This usually happens if the butter wasn’t cooled enough, the dough wasn’t chilled, or the flour wasn’t measured correctly. Make sure to follow those steps carefully!
I hope you give these Salted Honey Cookies: Chewy, Glossy, And Perfectly Caramelized a try soon. They are truly something special and always disappear fast in my house! When you make them, please come back and let me know how much you loved them!
PrintSalted Honey Cookies: Chewy, Glossy, And Perfectly Caramelized

These cookies boast a delightful chew, glossy tops, and a perfect balance of sweet honey and flaky sea salt.
- Prep Time: 15
- Cook Time: 12
- Total Time: 57
- Yield: 18 cookies
- Category: Dessert
- Method: Baking
- Cuisine: American
- Diet: Vegetarian
Ingredients
- 1/2 cup unsalted butter melted and slightly cooled
- 1/4 cup pure honey clover or wildflower
- 1/2 cup dark brown sugar packed tightly
- 1/2 cup granulated sugar standard white sugar
- 1 large egg room temperature
- 1 tsp vanilla extract pure vanilla preferred
- 1 3/4 cups all-purpose flour spooned and leveled (210g)
- 1/2 tsp baking soda ensures proper spread and rise
- 1/2 tsp kosher salt for the dough
- 1 tbsp flaky sea salt large crystalline flakes for garnish
Instructions
- Melt the butter and allow it to cool slightly.
- In a large mixing bowl, vigorously whisk together the melted butter, pure honey, dark brown sugar, and granulated sugar for about 2 minutes.
- Continue whisking until the mixture is lightened and smooth.
- Whisk in the room temperature egg and vanilla extract until completely emulsified and glossy.
- Sprinkle the all-purpose flour, baking soda, and kosher salt over the wet ingredients.
- Use a rubber spatula to gently fold the mixture together until just the last streak of flour disappears.
- Do not overmix the dough.
- Cover the bowl tightly with plastic wrap or a lid.
- Refrigerate the dough for exactly 30 minutes to solidify the butter and prevent over-spreading.
- Preheat your oven to 350°F (175°C).
- Line a large baking sheet with crinkled white parchment paper.
- Use a 2-tablespoon cookie scoop to portion the dough.
- Scoop portions of dough onto the prepared baking sheet, spacing them 3 inches apart.
- Bake for 10-12 minutes until the edges are crispy and deeply caramelized, but the centers remain pale and soft.
- Remove the pan from the oven.
- Immediately tap the baking sheet firmly on the counter twice to deflate the cookies and create glossy, cracked centers.
- Generously sprinkle the tops of the cookies with coarse flaky sea salt while they are still hot.
Notes
Always use room temperature egg for best emulsion results.
Don’t skip the dough chilling step; it prevents over-spreading.
Tap the baking sheet immediately after baking for glossy, crinkled tops.
Measure flour by spooning it into the measuring cup and leveling, rather than scooping directly.



![Easy Southern Peach Cobbler [with Canned Peaches]](https://theflakytruth.com/wp-content/uploads/2026/08/cmswa1vwj00lb102k5xxpcxh8-hero-300x300.webp)