There’s just something about a really good butter cookie, isn’t there? For me, these cookies bring back so many happy memories of holiday baking with my grandma. She always had a tin of perfectly piped, tender butter cookies, and I swear she could pipe them with her eyes closed!
While I might not be at her level yet, these Chocolate-Dipped Butter Cookies are my go-to when I want that classic, melt-in-your-mouth experience with a little extra special touch. They’re buttery, delicate, and the chocolate dip just takes them over the top. Trust me, you’re going to love them!
Why You’ll Love This Chocolate-Dipped Butter Cookies
- They are incredibly buttery and just melt in your mouth.
- The chocolate dip makes them feel extra fancy, but they’re so easy to make.
- You can customize them with different chocolate or sprinkles for any occasion.
- They’re perfect for sharing, gifting, or just treating yourself!
Ingredients You’ll Need
- Unsalted Butter: Make sure it’s at room temperature! This is super important for getting that light and fluffy texture when you cream it with sugar. Don’t use cold butter, or your dough won’t come together properly.
- Granulated Sugar: Sweetens the cookies and helps with that lovely crisp-chewy edge.
- Vanilla Extract & Almond Extract: These two together create such a classic, delightful flavor profile. If you don’t have almond extract, you can just use all vanilla, but the almond really gives it that bakery-style taste.
- Large Egg: Again, room temperature! It helps bind everything together and adds richness.
- All-Purpose Flour: The backbone of our cookie. Make sure to fluff it up, spoon it into your measuring cup, and then level it off for accuracy. Or, even better, use a kitchen scale!
- Fine Salt: Balances the sweetness and enhances all the flavors.
- Chocolate Chips (Milk, Semi-sweet, or Dark): This is for dipping! Choose your favorite kind of chocolate. Chocolate bars or couverture work too.
- Vegetable or Canola Oil: A little bit of oil mixed into the melted chocolate helps thin it out, making it smoother and easier to dip your cookies. It also helps it set nicely.
How to Make Chocolate-Dipped Butter Cookies Step by Step
First things first, let’s get those baking sheets ready! Line two large baking sheets with parchment paper or silicone mats. Then, you’ll want to make some space in your fridge or freezer, because these cookies need a little chill time before they bake. This helps them hold their shape perfectly.
Now for the dough! In a big bowl, beat your room temperature butter and granulated sugar together until it’s light and fluffy. This usually takes a couple of minutes on medium-high speed. Then, add your room temperature egg, vanilla extract, and almond extract. Beat it until everything is just combined, and don’t forget to scrape down the sides of the bowl with a spatula to make sure everything gets mixed in evenly.
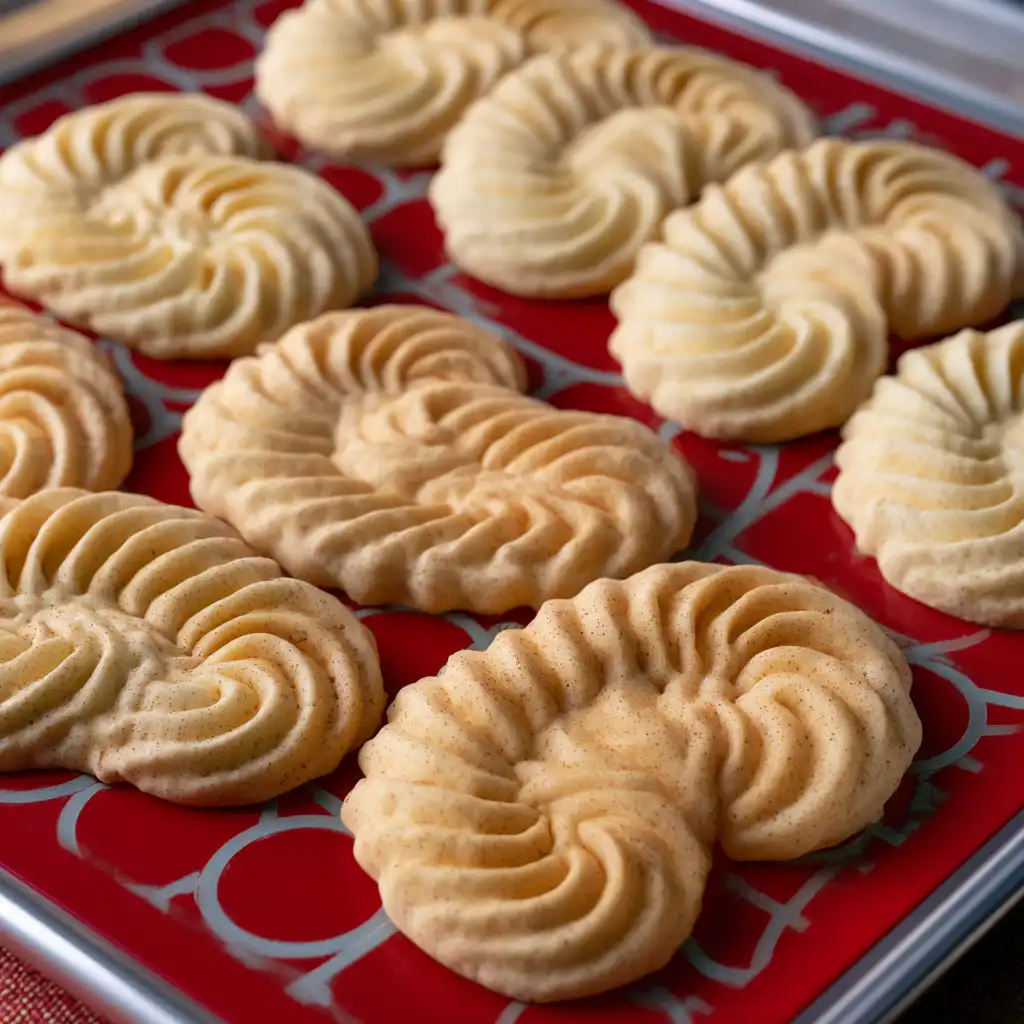
Finally, gently mix in your flour and salt on low speed until it’s mostly combined. Then, crank up the speed to medium-high and beat until the dough is smooth, thick, and looks pipeable. This is where the magic happens! Fit a large piping bag with a large, closed star tip. I love using an Ateco 848 for that classic butter cookie look. Test a little bit of dough first to make sure it’s not too stiff to pipe. If it is, don’t worry, just mix in a tsp of milk until it’s perfect. Then, pipe those beautiful 3-inch swirls onto your prepared baking sheets, leaving about 2 inches between each cookie. Pop them in the fridge for at least 30 minutes (or freezer for 15) while your oven preheats to 350°F (175°C).
My Top Tips for Success
- Room Temperature Ingredients are Key: I always make sure my butter and egg are at room temperature. It makes a huge difference in the texture of your dough and cookies.
- Measure Flour Correctly: Trust me on this one – fluff your flour, spoon it into the measuring cup, then level it off. Or better yet, use a kitchen scale for accuracy. It prevents dry, crumbly cookies.
- Don’t Skip the Chill Time: I know it’s tempting to rush, but chilling the piped cookies prevents them from spreading too much in the oven and helps them keep their beautiful shape.
- Bake One Tray at a Time: In my experience, baking one tray in the middle rack ensures even baking. Your oven’s hot spots can affect how cookies bake, so this gives you the best results.
- Thin the Chocolate: Adding a little vegetable or canola oil to your melted chocolate makes it so much easier to dip and gives a smoother, glossier finish.
Common Mistakes to Avoid
- Using Cold Butter: This will result in a lumpy dough that’s hard to cream and won’t pipe smoothly. Make sure your butter is softened to room temperature before you start.
- Overmixing the Dough: Once the flour is added, mix only until just combined and smooth. Overmixing can develop too much gluten, leading to tough cookies.
- Skipping the Chilling Step: If you don’t chill the piped dough, your cookies will likely spread too much in the oven and lose their defined shape.
- Baking Too Long: Keep an eye on them! Butter cookies can go from perfectly baked to overdone very quickly. They should be just lightly browned around the edges.
- Not Thinning the Chocolate: If your melted chocolate is too thick, it will be difficult to get an even coating on your cookies, and it might clump up. A little oil makes it smooth and dippable.
How to Store Chocolate-Dipped Butter Cookies
- Room Temperature: Store in an airtight container for up to 5 days.
- Refrigerator: Store in an airtight container for up to 1 week.
Frequently Asked Questions
Can I make these cookies without a piping bag?
Yes, you can! While a piping bag gives them that classic look, you can also roll the dough into a log, chill it, and then slice and bake for simple round butter cookies. They’ll still taste delicious.
What kind of chocolate is best for dipping?
You can use milk, semi-sweet, or dark chocolate chips, or even chopped chocolate bars. I find good quality chocolate melts smoother and tastes better. For a fun twist, you could also try white chocolate!
Why are my cookies spreading too much?
This is usually due to butter that’s too soft, not chilling the dough enough, or an oven that isn’t at the correct temperature. Make sure your butter isn’t melted, chill the dough thoroughly, and use an oven thermometer to verify your oven temp.
Can I freeze the cookie dough?
The dough can’t be chilled before it’s piped or else it’ll be too thick to pipe. It’s best to pipe the cookies and then chill them before baking. You can freeze the baked, undipped cookies in an airtight container for up to 2 months.
How can I prevent the chocolate from cracking after dipping?
Adding a little bit of vegetable or canola oil to the melted chocolate helps make it more pliable and less prone to cracking once set. Also, ensure your cookies are completely cool before dipping.
I really hope you give these Chocolate-Dipped Butter Cookies a try! They’re such a delightful treat and perfect for any occasion, or just a quiet afternoon with a cup of tea. If you make them, please let me know how they turn out – I’d love to hear about it!
PrintChocolate-Dipped Butter Cookies
Buttery, delicate, and melt-in-your-mouth cookies with a delightful chocolate coating, perfect for any occasion.
- Prep Time: 30
- Cook Time: 17
- Total Time: 77
- Yield: 30-36 cookies
- Category: Dessert
- Method: Baking
- Cuisine: American
- Diet: Vegetarian
Ingredients
- 1 cup unsalted butter, room temperature
- 3/4 cup granulated sugar
- 1 Tbsp vanilla extract or vanilla bean paste
- 2 tsp almond extract
- 1 large egg, room temperature
- 2 1/4 cups all-purpose flour – fluffed, spooned & leveled
- 1 tsp fine salt
- 2 Tbsp nonpareil sprinkles (optional)
- 1 cup milk, semi-sweet, or dark chocolate chips, melted
- 2 tsp vegetable or canola oil
- flakey sea salt – garnish
Instructions
- Prepare your baking sheets: Line 2 large baking sheets with parchment paper or silicone baking mats. Set aside.
- Make space in your refrigerator or freezer for the baking sheets. The piped cookies will need to chill before baking.
- Cream butter and sugar: In a large bowl, using a handheld mixer or a stand mixer fitted with a paddle attachment, beat the room temperature butter and granulated sugar together on medium-high speed for 2-3 minutes until light and fluffy.
- Add wet ingredients: Add the large egg, vanilla extract or vanilla bean paste, and almond extract. Beat at medium-high speed until just combined. Scrape the sides and bottom of the bowl with a rubber spatula as needed.
- Mix in dry ingredients: Add the all-purpose flour and fine salt. Mix on low speed until mostly combined. Increase the speed to medium-high and beat until completely combined, smooth, and thick but still pipeable.
- Prepare piping bag: Fit a large piping bag with a large, closed star tip (like an Ateco 848).
- Test dough consistency: Scoop about 1/2 cup of dough into the piping bag. Pipe a 3-inch swirl or squiggle onto a prepared baking sheet. If it pipes successfully, scoop the rest of the dough into the bag and seal the top with a rubber band or clip. If the dough is too thick to pipe, scoop it back into the bowl, mix in 1 tsp of milk, and repeat testing until pipeable.
- Pipe cookies: Pipe 3-inch swirls or squiggles onto the prepared baking sheets, spacing them about 2 inches apart. Give your hand a break between trays if needed.
- Chill cookies: Place the baking sheets with piped cookies in the refrigerator for at least 30 minutes or in the freezer for 15 minutes.
- Preheat oven: While the dough chills, preheat your oven to 350°F (175°C).
- Bake cookies: Once the oven is fully preheated, bake one tray of cookies at a time on the middle rack of your oven for 14-17 minutes, or until the sides are just beginning to brown. The cookies will spread slightly but should retain their shape.
- Cool cookies: Remove the cookies from the oven and let them cool on the baking sheet for 10 minutes. Then, transfer them to a wire rack to cool completely.
- Melt chocolate: As the cookies cool, melt the chocolate chips in a small bowl using a double boiler or microwave (heating in 20-second increments, stirring between each). You can use chopped chocolate bars or couverture if preferred.
- Thin chocolate: Once fully melted, mix in the vegetable or canola oil to help thin the chocolate, making it easier to dip.
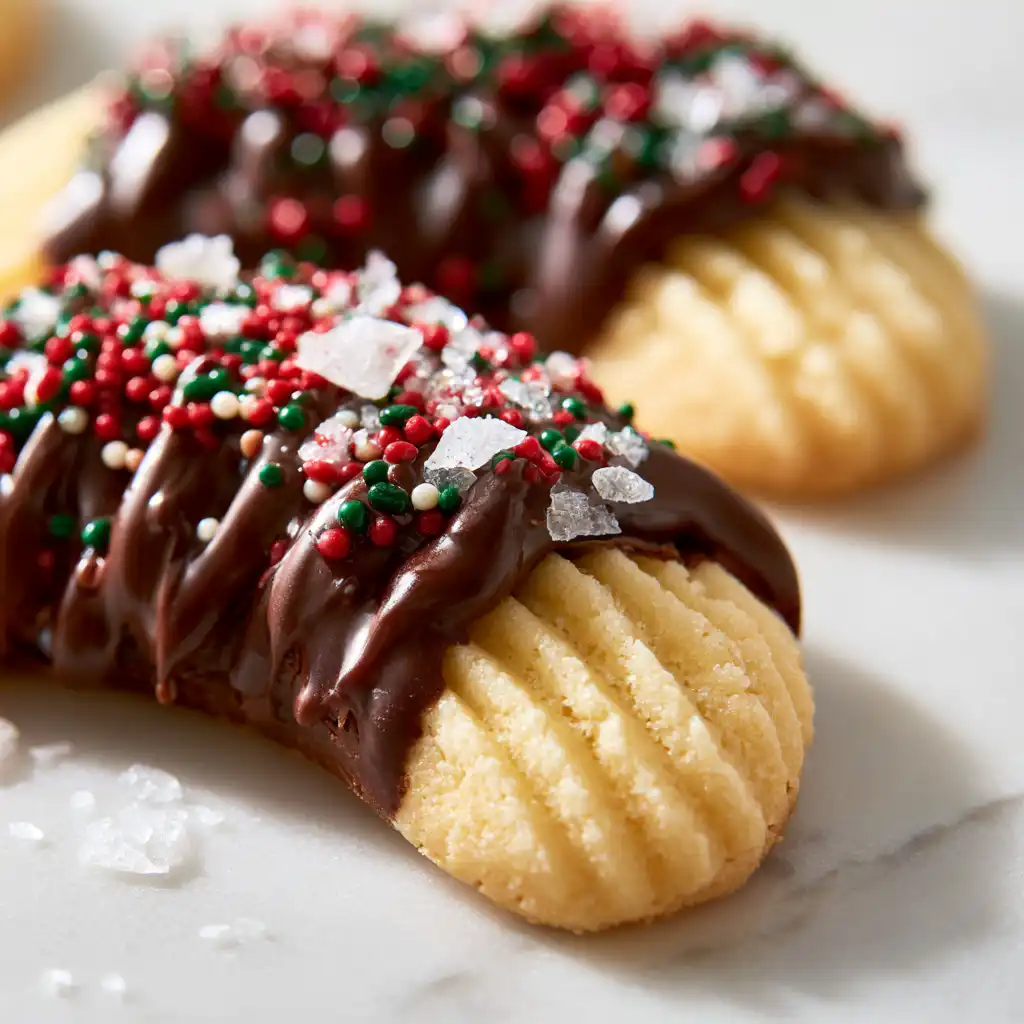
- Dip and garnish: Cover a clean baking sheet with parchment paper. Dip each cooled cookie halfway into the melted chocolate. Let any excess chocolate drip off. Scrape the bottom of each cookie along the edge of the bowl to remove excess. Top immediately with a sprinkle of flakey sea salt and/or nonpareil sprinkles.
- Set chocolate: Place the dipped cookies on the parchment-lined baking sheet and let them firm up at room temperature for 30 minutes, or in the fridge for 15 minutes.
Notes
Ensure all cold ingredients like butter and egg are at room temperature for the best texture.
Measure flour by fluffing, spooning, and leveling, or use a kitchen scale for accuracy.
Do not skip the chilling step for the piped cookies; it helps them hold their shape.
Add oil to melted chocolate to make it smooth and easy to dip, preventing cracking.





![Easy Southern Peach Cobbler [with Canned Peaches]](https://theflakytruth.com/wp-content/uploads/2026/08/cmswa1vwj00lb102k5xxpcxh8-hero-300x300.webp)