Oh, brownies! There’s just something so comforting about a warm, fudgy brownie, isn’t there? For me, these Chocolate Peanut Butter Brownies aren’t just a dessert; they’re a little slice of pure joy. I remember the first time I made them for a potluck, and they disappeared in minutes! Everyone raved about the perfect balance of rich chocolate and creamy peanut butter. It’s a combination that just sings, and I can’t wait for you to try your hand at this recipe.
Why You’ll Love These Chocolate Peanut Butter Brownies
- They’re incredibly fudgy and rich, with that classic brownie texture we all crave.
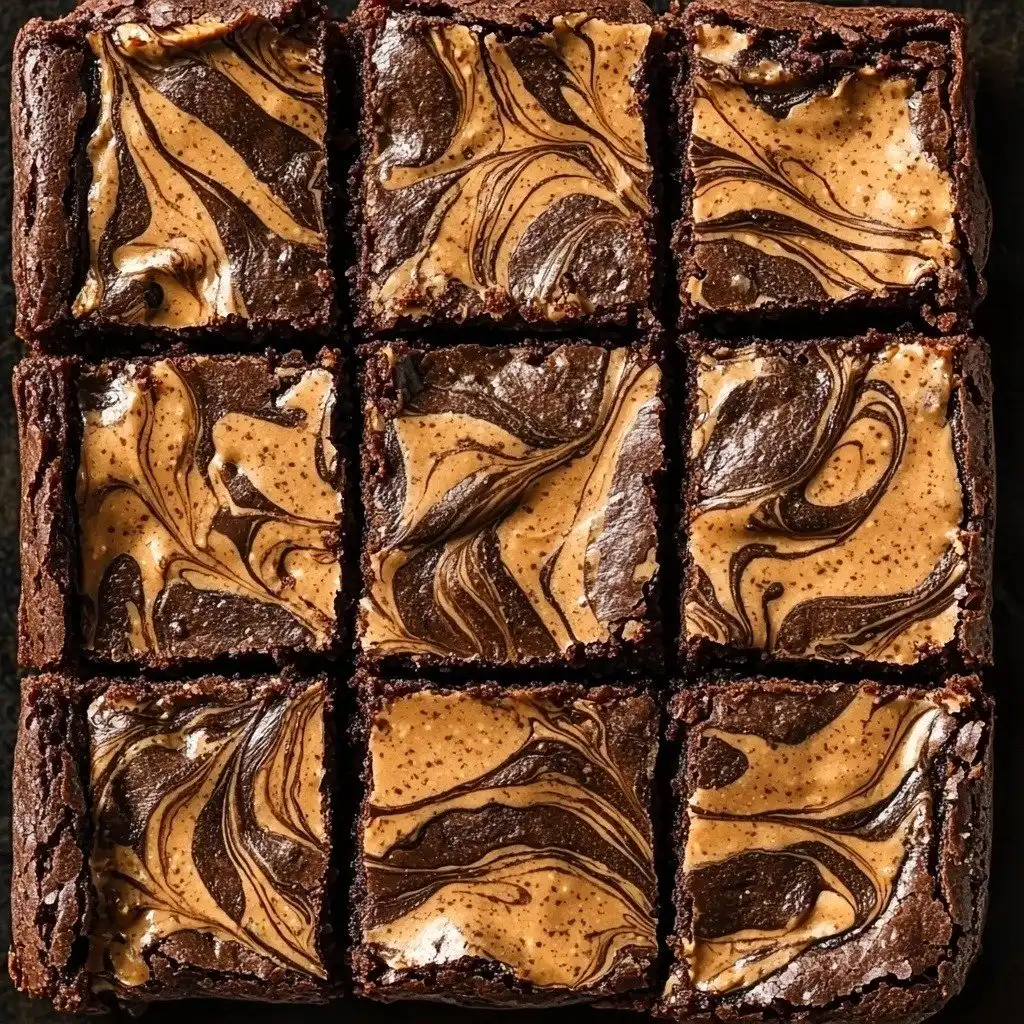
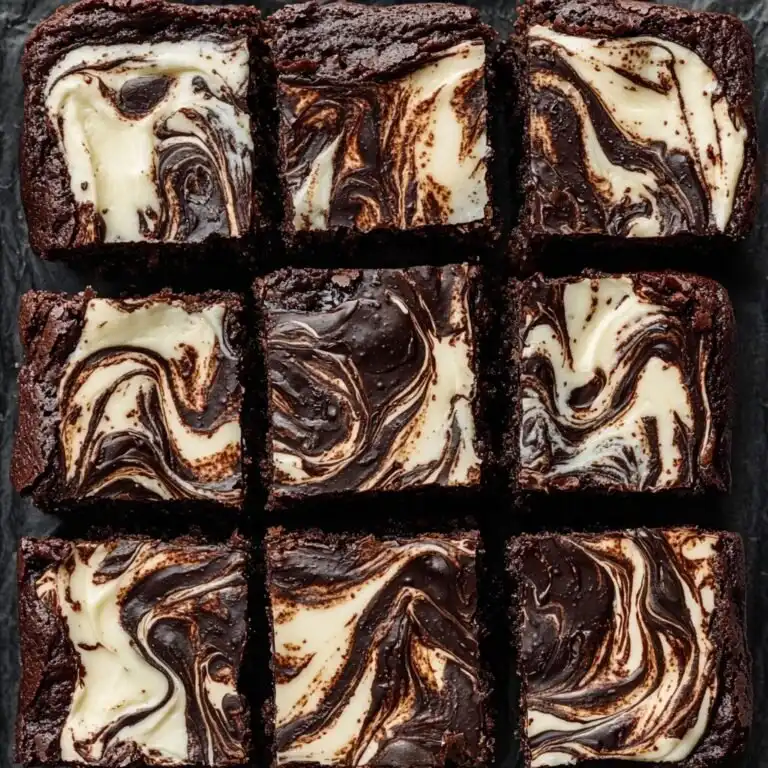
- The peanut butter swirl isn’t just pretty; it adds a delicious salty-sweet balance to every bite.
- You don’t need any fancy equipment, just a few bowls and a whisk!
- They’re perfect for sharing at parties, gifting to friends, or just treating yourself on a cozy night in.
Ingredients You’ll Need
- Creamy All-Natural Peanut Butter: This is key for both the filling and the swirl. All-natural means it’s usually just peanuts and salt, which gives a really pure peanut flavor. Avoid the sweetened, hydrogenated oil varieties for the best results – they can make the filling too stiff.
- Powdered Sugar: This is what thickens our peanut butter filling without adding extra liquid. It also dissolves beautifully, giving a smooth texture.
- Melted Butter: Unsalted butter is usually best for baking as it gives you control over the salt content. It contributes to the fudgy texture of the brownies.
- Chocolate Chips: I love using semi-sweet, but you can use milk chocolate for a sweeter brownie or dark chocolate for a more intense flavor. They melt down to create the rich chocolate base.
- Eggs: These are our binders, providing structure and richness. Make sure they’re room temperature if you have time, as they’ll incorporate better.
- Cocoa Powder: Unsweetened cocoa powder gives a deep, chocolatey flavor to the brownies.
- All-Purpose Flour: Just a little flour is needed to hold everything together without making the brownies cakey. If you’re gluten-free, a good quality gluten-free all-purpose blend works perfectly here!
How to Make Chocolate Peanut Butter Brownies Step by Step
First things first, let’s get our oven ready. Preheat it to 350 degrees Fahrenheit. Then, grab an 8×8 inch square pan and line it with parchment paper, leaving a little overhang on the sides. This makes it so much easier to lift the brownies out later!
Now for the peanut butter magic! In a medium bowl, combine 1 ½ cups of creamy all-natural peanut butter with ⅔ cup of powdered sugar. Stir it really well until it’s combined; it will be quite thick, almost like a dough. Don’t worry if it seems a bit stiff, that’s exactly what we want. Set this aside for a moment.
Next, in another bowl, melt your ½ cup of butter. Once it’s melted, add 1 ¼ cups of chocolate chips and stir until the chocolate is completely smooth and creamy. If your chocolate isn’t melting fully, just pop it back in the microwave for a few seconds, then stir again. In a separate, clean mixing bowl, whisk together 1 cup of granulated sugar and 2 eggs vigorously for about 2 minutes. This incorporates air and helps with that lovely fudgy texture. Pour your melted chocolate mixture into the sugar and egg mixture, and stir gently until it’s all combined. Finally, add 3 tablespoons of cocoa powder, 1 teaspoon of vanilla extract, and ¼ cup of flour. Stir until just combined – don’t overmix!
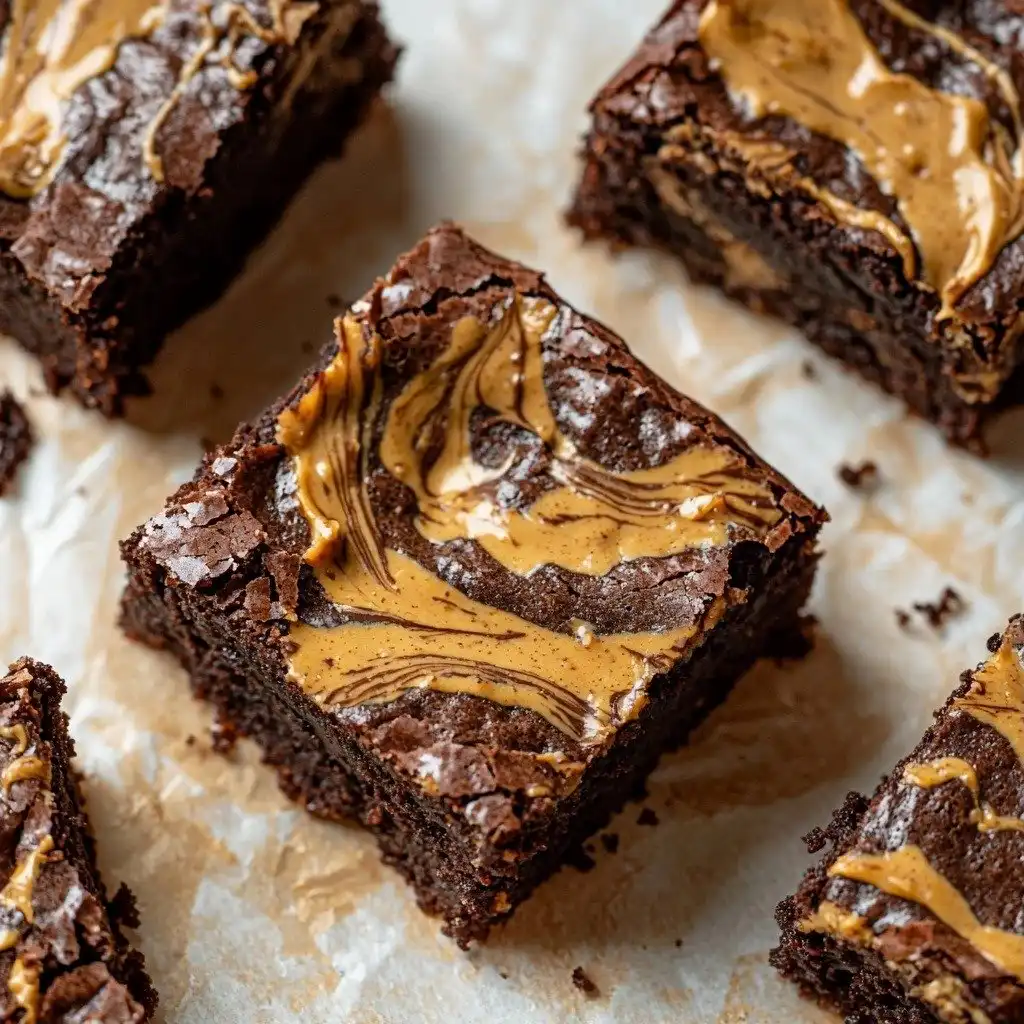
Time to assemble! Pour half of your brownie batter into your prepared pan. Then, take your reserved peanut butter filling and drop spoonfuls (dollops!) all over the brownie batter. Don’t worry about perfection here; use your hands to gently spread it out into an even layer. It doesn’t have to be perfectly smooth. Next, pour the remaining brownie batter on top. For that signature swirl, drizzle ⅓ cup of creamy peanut butter all over the top. Grab a knife or a toothpick and gently swirl it through the layers. This is where the magic happens and you create those beautiful patterns!
Bake your brownies for 28 to 30 minutes. You’ll know they’re ready when the middle looks set and doesn’t jiggle if you give the pan a gentle shake. Once they’re done, take them out of the oven and here’s the hardest part: let them cool completely before you slice into them. I know, I know, it’s tempting to dig in, but cooling helps them set up perfectly for clean, fudgy squares. Trust me!
My Top Tips for Success
- I always line my pan with parchment paper, leaving an overhang. It makes lifting the whole slab out for cutting so much easier and cleaner!
- In my experience, using good quality chocolate chips and all-natural peanut butter really makes a difference in flavor.
- Trust me on this one: don’t overmix the brownie batter once you add the flour. Overmixing can lead to tougher brownies. Stir until just combined.
- For clean cuts, allow the brownies to cool completely, and use a sharp knife. Wiping the knife clean between cuts helps too!
- If your peanut butter filling is too stiff to spread with your hands, you can lightly dampen your hands with water.
Common Mistakes to Avoid
- Overbaking: This is the number one culprit for dry, cakey brownies. Brownies should be fudgy, not crumbly. Keep an eye on them and remove them from the oven as soon as the center is set.
- Not letting them cool: Cutting into warm brownies is tempting, but they will fall apart and be gooey. Cooling allows them to firm up and become perfectly fudgy.
- Overmixing the batter: Once you add the flour, stir just until combined. Too much mixing develops the gluten, leading to a tougher texture.
- Using sweetened peanut butter for the filling: This can make the filling too sweet and also change its texture, making it harder to spread. Stick to all-natural.
How to Store Chocolate Peanut Butter Brownies
- Countertop: Store in an airtight container at room temperature for up to 3-4 days.
- Refrigerator: To extend freshness, store in an airtight container in the refrigerator for up to 1 week. Bring to room temperature before serving for the best texture.
- Freezer: Wrap individual brownies tightly in plastic wrap, then place in a freezer-safe bag or container for up to 3 months. Thaw at room temperature.
Frequently Asked Questions
What kind of peanut butter should I use?
You should use creamy all-natural peanut butter for both the filling and the swirl. This means peanut butter that lists only peanuts and salt in its ingredients, without added sugars or oils, as it gives the best texture and flavor.
Can I make these gluten-free?
Yes, absolutely! The recipe specifies that you can use a gluten-free all-purpose flour blend as a direct substitute for regular all-purpose flour. The results will be just as delicious.
How do I know when the brownies are done?
The brownies are done when the middle looks set and no longer jiggles if you gently shake the pan. A toothpick inserted into the center should come out with moist crumbs, not wet batter.
Can I use a different size pan?
This recipe is designed for an 8×8 inch pan. If you use a larger pan, the brownies will be thinner and may bake faster, so adjust baking time accordingly. A smaller pan will result in thicker brownies, requiring more baking time.
Why do my brownies taste cakey instead of fudgy?
Most likely, your brownies were overbaked or the batter was overmixed after the flour was added. To prevent this, remove them from the oven as soon as the center is set and mix the batter just until combined.
I hope these Chocolate Peanut Butter Brownies bring a smile to your face and a little bit of chocolatey, peanut buttery bliss to your day! They’re truly a crowd-pleaser and so much fun to make. Give them a try, and let me know how they turn out in your kitchen!
PrintChocolate Peanut Butter Brownies
Fudgy, rich brownies swirled with creamy peanut butter, this recipe is a delightful combination of two classic flavors.
- Prep Time: 20
- Cook Time: 30
- Total Time: 50
- Yield: 16 brownies
- Category: Dessert
- Method: Baking
- Cuisine: American
- Diet: Vegetarian
Ingredients
- 1 ½ cups creamy all natural peanut butter
- ⅔ cup powdered sugar
- ½ cup melted butter
- 1 ¼ cup chocolate chips
- 1 cup granulated sugar
- 2 eggs
- 3 tbsp cocoa powder
- 1 tsp vanilla extract
- ¼ cup flour, all purpose or gluten free flour
- ⅓ cup creamy all natural peanut butter, to swirl
Instructions
- Preheat oven to 350 degrees Fahrenheit.
- Line an 8 inch by 8 inch square pan with parchment paper.
- Add 1 ½ cups creamy peanut butter and powdered sugar to a bowl.
- Stir to combine until the mixture is thick.
- Set the peanut butter filling aside.
- In another bowl, add melted butter and chocolate chips.
- Stir until chocolate is completely melted and creamy.
- If needed, microwave quickly to fully melt the chocolate.
- In a clean mixing bowl, add granulated sugar and eggs.
- Whisk vigorously for 2 minutes.
- Pour in the melted chocolate mixture.
- Stir to combine.
- Add in cocoa powder, vanilla extract, and flour.
- Stir to combine until just mixed.
- Pour half of the brownie batter into the lined pan.
- Drop the prepared peanut butter filling in dollops on top of the batter.
- Use your hands to spread the peanut butter filling into an even layer.
- Pour the remaining brownie batter on top.
- Pour ⅓ cup creamy peanut butter all over the top of the brownie batter.
- Use a knife or toothpick to swirl the peanut butter into the batter.
- Bake for 28 to 30 minutes.
- Check that the middle looks set and the brownies no longer jiggle.
- Remove from oven.
- Allow brownies to fully cool before slicing into squares.
Notes
Always use all-natural creamy peanut butter for the best texture and flavor.
Don’t overmix the brownie batter once the flour is added to ensure fudgy results.
Allow brownies to cool completely before cutting for clean, neat slices.
Line your baking pan with parchment paper for easy removal of the brownies.

![Easy Southern Peach Cobbler [with Canned Peaches]](https://theflakytruth.com/wp-content/uploads/2026/08/cmswa1vwj00lb102k5xxpcxh8-hero-300x300.webp)