Every holiday season, I find myself reaching for this recipe. It’s not just a cookie; it’s a little piece of edible art that brings a smile to everyone’s face! These Christmas Wreath Cookies are so simple to make, and they capture that festive spirit perfectly. They’re a cherished tradition in my home, and I can’t wait for you to make them one in yours too!
Why You’ll Love These Christmas Wreath Cookies
- They’re incredibly easy and fun to make – perfect for baking with kids or when you need a quick holiday treat.
- No baking required! That’s right, these are a delicious no-bake option for when your oven is busy or you’re short on time.
- The sweet, chewy marshmallow combined with crunchy cornflakes creates a delightful texture.
- They look absolutely adorable and festive, making them a wonderful edible gift or party favor.
Ingredients You’ll Need
- Butter: I always use unsalted butter so I can control the saltiness myself, but salted will work in a pinch. It helps create that perfect chewy texture.
- Marshmallows: Large marshmallows are best here! They melt down beautifully to create the sticky binder for our wreaths.
- Green Gel Food Coloring: Gel coloring gives a much more vibrant green with less liquid than traditional liquid food coloring, so your mixture won’t get too runny.
- Vanilla Extract: Don’t skip this! It adds a lovely warmth and depth of flavor to balance the sweetness.
- Cornflakes: These are the star of our wreath’s crunch! They hold their shape well and give that classic texture.
- Red Hot Candies: These classic little candies are perfect for decorating and add a touch of cinnamon spice. If you’re not a fan, mini M&M’s are a great alternative for a milder chocolatey crunch.
- Cooking Spray: This is your best friend when working with sticky marshmallow mixture!
How to Make Christmas Wreath Cookies Step by Step
First things first, let’s get our workspace ready. Grab a sheet pan and line it with parchment paper or a silicone baking mat. This is going to make cleanup so much easier and prevent sticking. Trust me on this one!
Now for the magic! In a large microwave-safe bowl, combine your butter and marshmallows. Pop it into the microwave and heat it in 30-second bursts. Stir after each burst until everything is beautifully melted and smooth. This is where the base of our delicious wreaths comes together!
Once your marshmallow mixture is smooth, stir in the green food coloring and vanilla extract. Keep stirring until the color is even and vibrant. Then, gently fold in your cornflakes. You want to coat them evenly without crushing them too much, so be gentle! This is where your wreaths start to take shape. To form the wreaths, use a greased 1/4 cup measuring cup to scoop the mixture, then turn it out onto your prepared sheet pan. Use damp or cooking-spray-coated fingers to gently press a hole in the middle, forming that classic wreath shape. Don’t forget to add your red candies for decoration right away, before they cool! Let them cool completely until they’re firm, and then they’re ready to enjoy!
My Top Tips for Success
- Prep your pan first: I always line my sheet pan before I even start melting the marshmallows. Once that mixture is ready, it sets quickly!
- Microwave in short bursts: Trust me, 30-second increments are key for melting marshmallows. It prevents them from overheating and becoming too tough.
- Work quickly but gently: The marshmallow mixture will start to set as it cools, so form your wreaths relatively quickly. But be gentle when stirring in the cornflakes to keep them from breaking.
- Grease your hands: This is a game-changer! Lightly coating your fingers with cooking spray or dampening them with water will prevent the sticky marshmallow mixture from clinging to you while you form the wreaths.
- Decorate immediately: Place your candies on the wreaths right after shaping them. Once the marshmallow cools, they won’t stick as well.
Common Mistakes to Avoid
- Overheating the marshmallows: This can make your treats too hard once cooled. Microwave in short bursts and stir frequently.
- Crushing the cornflakes: If you stir too vigorously, the cornflakes will break down, and you’ll lose that satisfying crunch. Fold them in gently.
- Not greasing your hands: Trying to shape these with dry hands will lead to a very sticky, frustrating mess. Always use cooking spray or damp fingers.
- Waiting too long to decorate: If the wreaths cool before you add the candies, they won’t adhere properly. Decorate them right after shaping.
How to Store Christmas Wreath Cookies
- Countertop: Store in an airtight container at room temperature for up to 3-4 days.
- Freezer: Place cooled cookies in a single layer on a baking sheet to freeze for about 30 minutes, then transfer to an airtight freezer-safe bag or container for up to 1 month. Thaw at room temperature before serving.
Frequently Asked Questions
Can I use mini marshmallows instead?
Yes, you can! You’ll need about 6 cups of mini marshmallows to equal 30 large marshmallows. The melting time might be slightly quicker.
What if I don’t have green food coloring?
You can skip it entirely for a more natural-looking treat, or try another color if you’re making them for a different occasion. The flavor will be the same!
Can I use other cereals?
While cornflakes hold their shape best, you can experiment with other sturdy cereals like Chex or Rice Krispies. Just be aware the texture might change slightly.
How do I prevent them from sticking to the plate?
Always store them in an airtight container with parchment paper between layers if stacking. This helps prevent sticking and keeps them fresh.
I hope these Christmas Wreath Cookies bring as much joy and festive cheer to your kitchen as they do to mine. They’re such a simple, joyful treat to share during the holidays. If you make them, I’d absolutely love to hear how they turned out and see your beautiful creations!
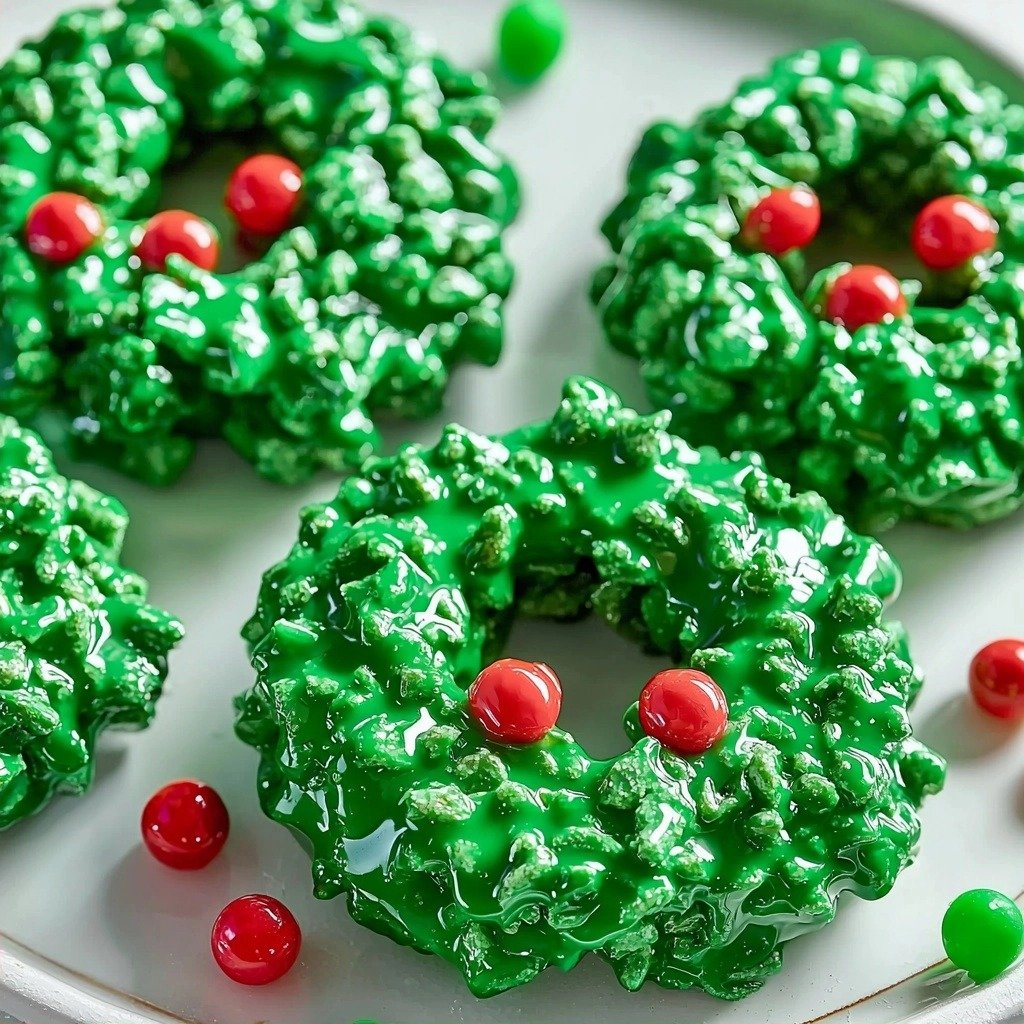
PrintChristmas Wreath Cookies

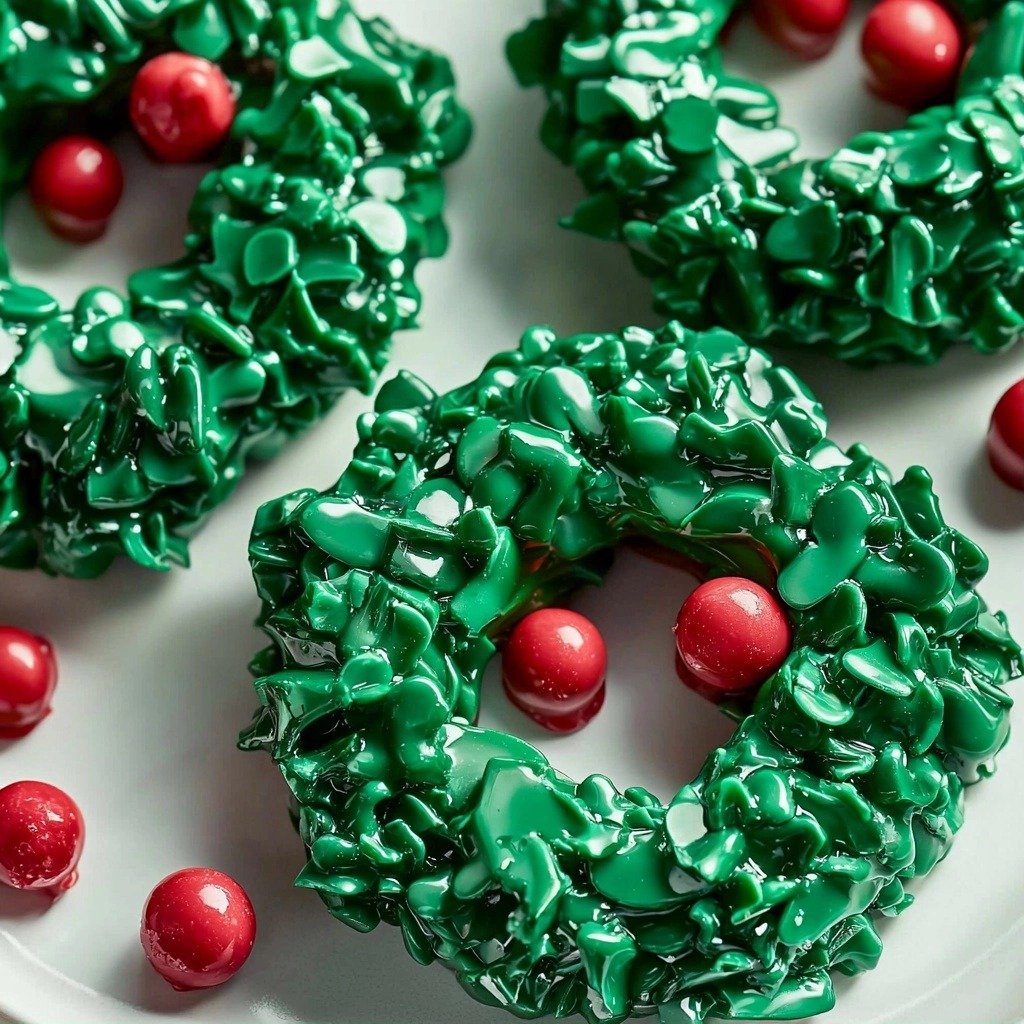
These festive no-bake cookies are made with cornflakes, marshmallows, and butter, and decorated with red candies for a delightful holiday treat.
- Prep Time: 15
- Cook Time: 2
- Total Time: 17
- Yield: 12-15 cookies
- Category: Dessert
- Method: No-Bake
- Cuisine: American
- Diet: Vegetarian
Ingredients
- 1 stick of butter (1/2 cup)
- 30 large marshmallows
- 6 drops green gel food coloring or 1 and 1/4 teaspoons liquid green food coloring
- 1/2 teaspoon vanilla extract
- 5 cups cornflakes
- 1 bottle of red hot candies or 1/2 cup red candy coated chocolates such as mini M&M's
- cooking spray
Instructions
- Line a sheet pan with parchment paper or a silicone baking mat.
- Place the marshmallows and butter in a large bowl.
- Microwave the mixture in 30-second increments until melted and smooth.
- Add the green food coloring and vanilla extract.
- Stir until the marshmallow mixture is smooth and evenly colored.
- Add the cornflakes to the bowl.
- Gently stir to coat the cereal evenly with the marshmallow mixture.
- Pack the mixture into a greased 1/4 cup measuring cup.
- Turn the packed mixture out onto the prepared sheet pan.
- Use your fingers to make a hole in the middle to form a wreath shape.
- Decorate each wreath with red candies immediately.
- Cool completely until firm.
- Serve and enjoy.
Notes
Grease your hands lightly with cooking spray or dampen them with water before shaping to prevent sticking.
Work quickly when shaping the wreaths as the marshmallow mixture sets as it cools.
Ensure candies are pressed onto the wreaths while still warm so they adhere properly.
Store cooled cookies in an airtight container at room temperature.